
The GoatBuster: A Booster And Buffer
2018, May 13
My First Effect: Booster and Buffer
I was reading blogs and electronic books for a few months, when I decided I would go with my first pedal: a booster!
As a rookie in electronic and soldering, I decided to go with a tutoriel from the Tonefiend blog archive: http://www.seymourduncan.com/tonefiend/tonefiend-diy-club-projects-resources/
I went with project #3, the booster and buffer.
Here is the schematic from their document.
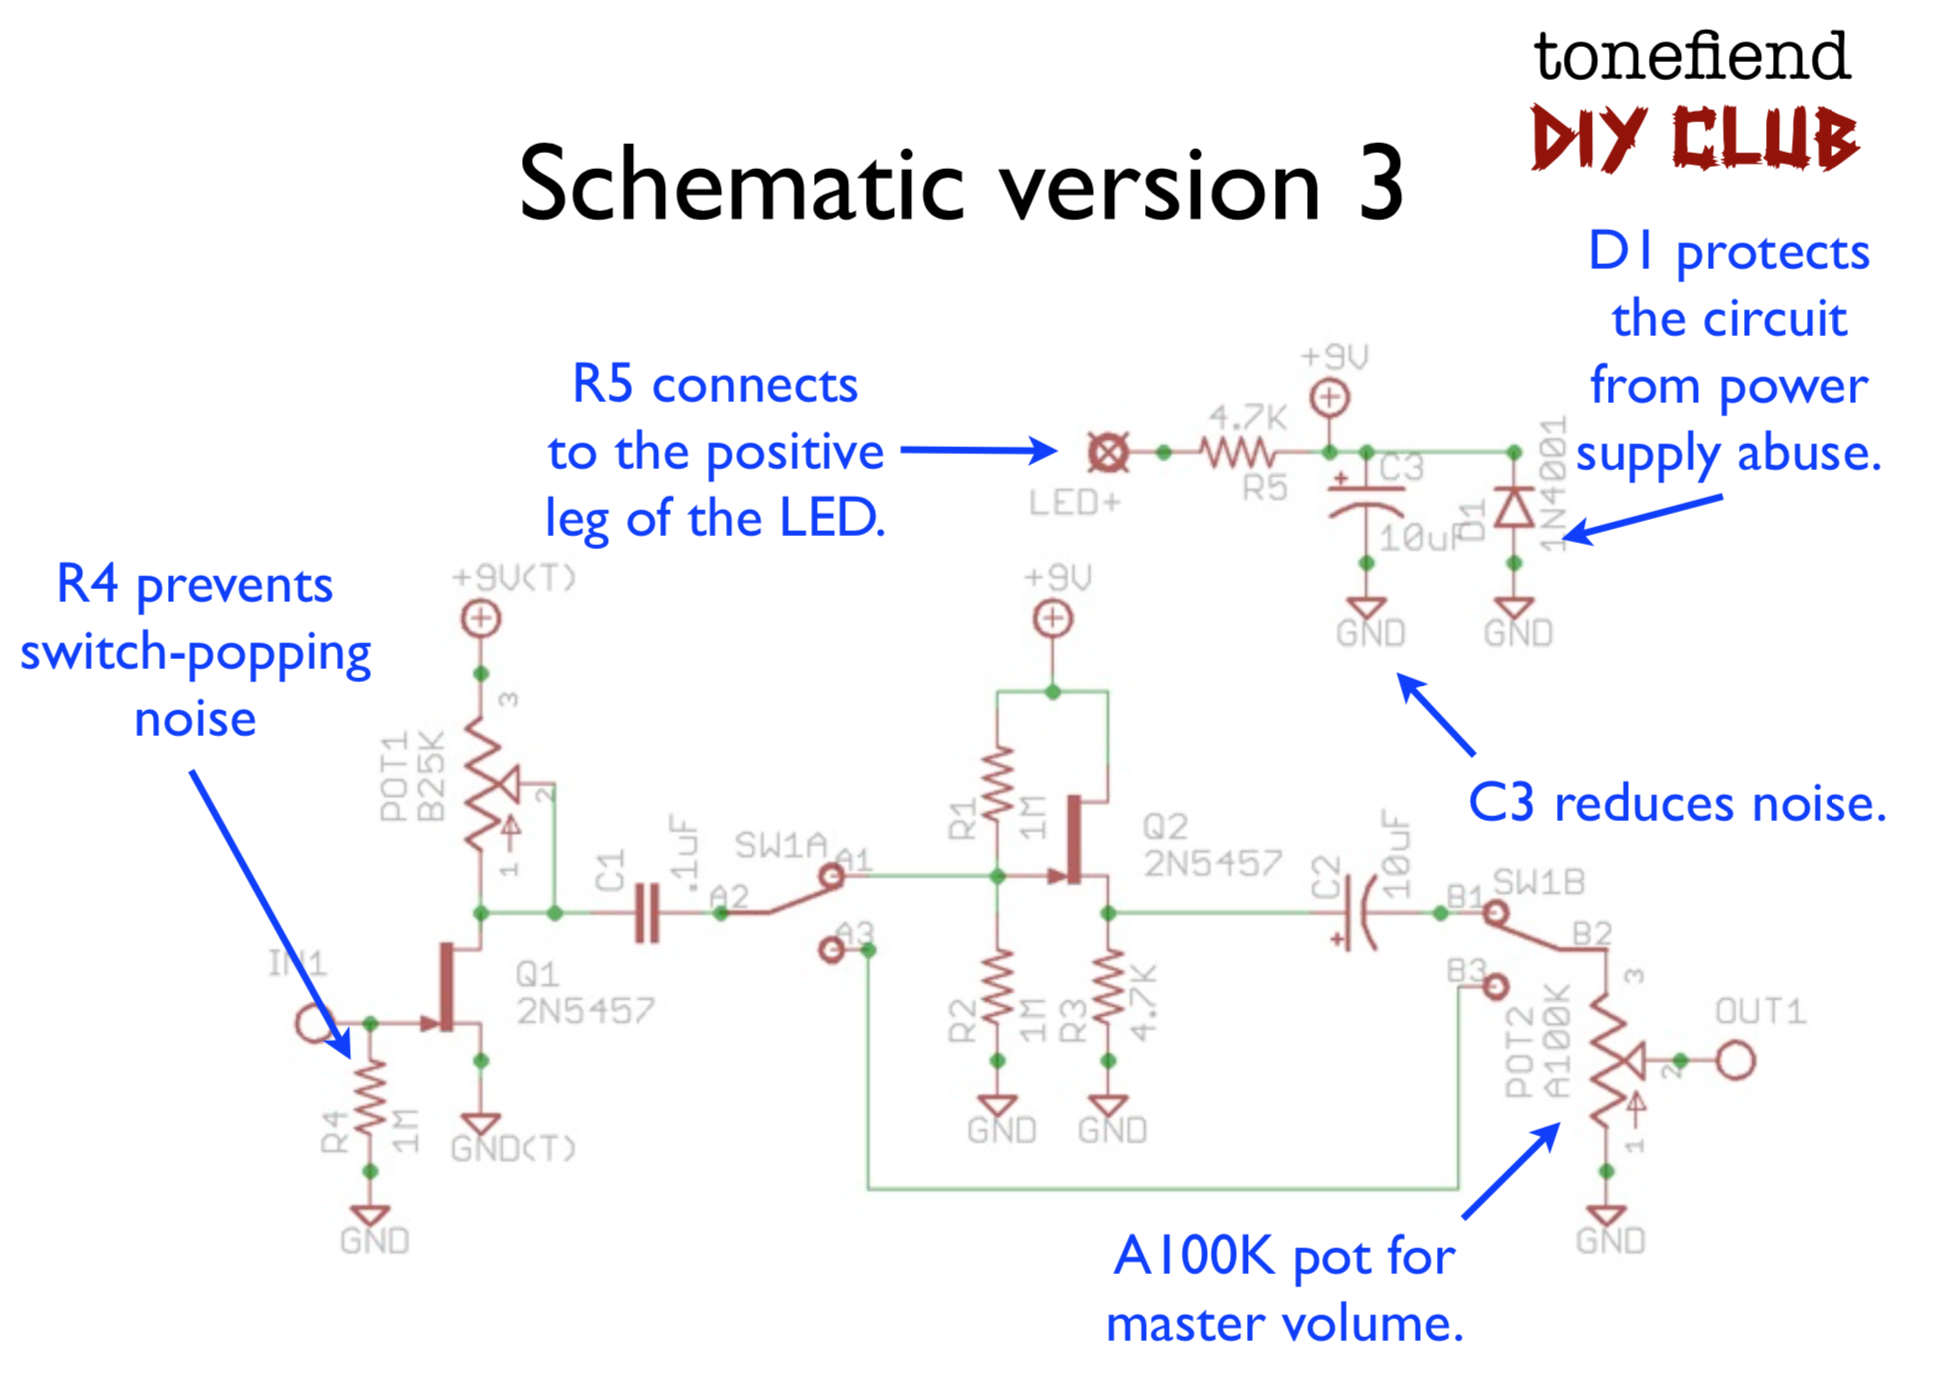
I replaced POT1 with a 330 ohm resistor, so the gain would be fixed (and clean). But you can leave the pot if you want to add gain (light drive) to your booster.
The buffer is activated by a switch.
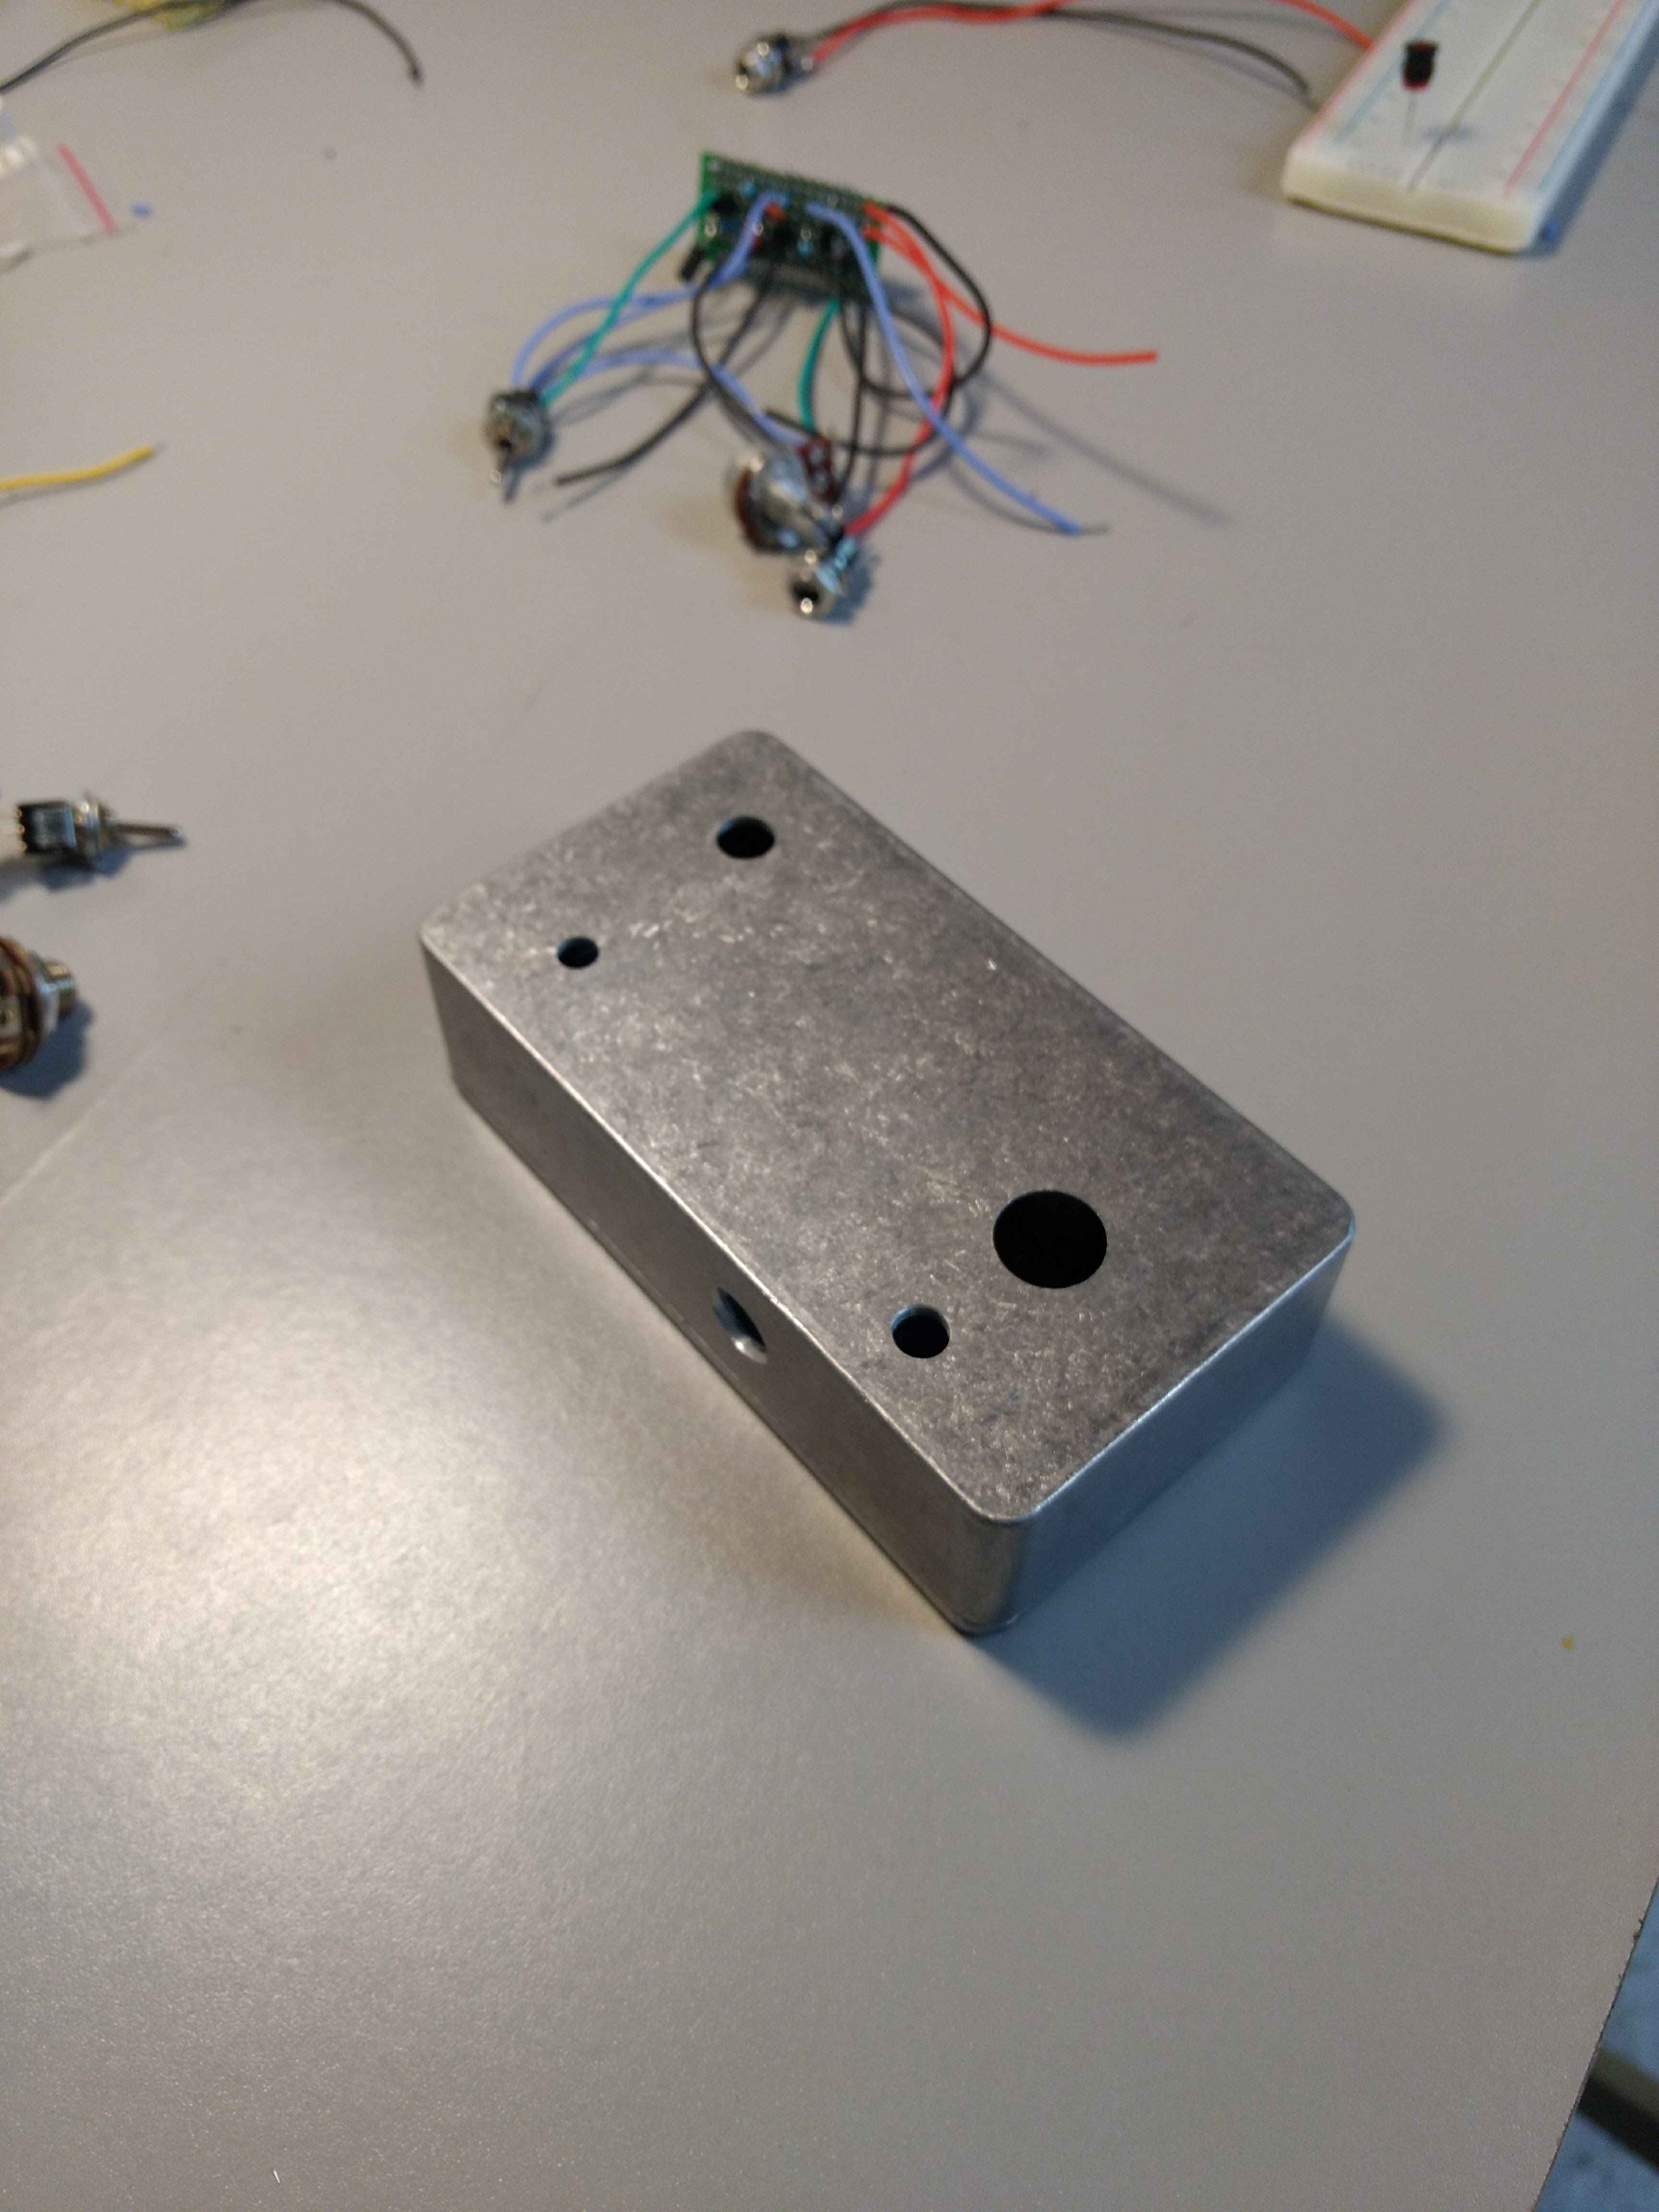
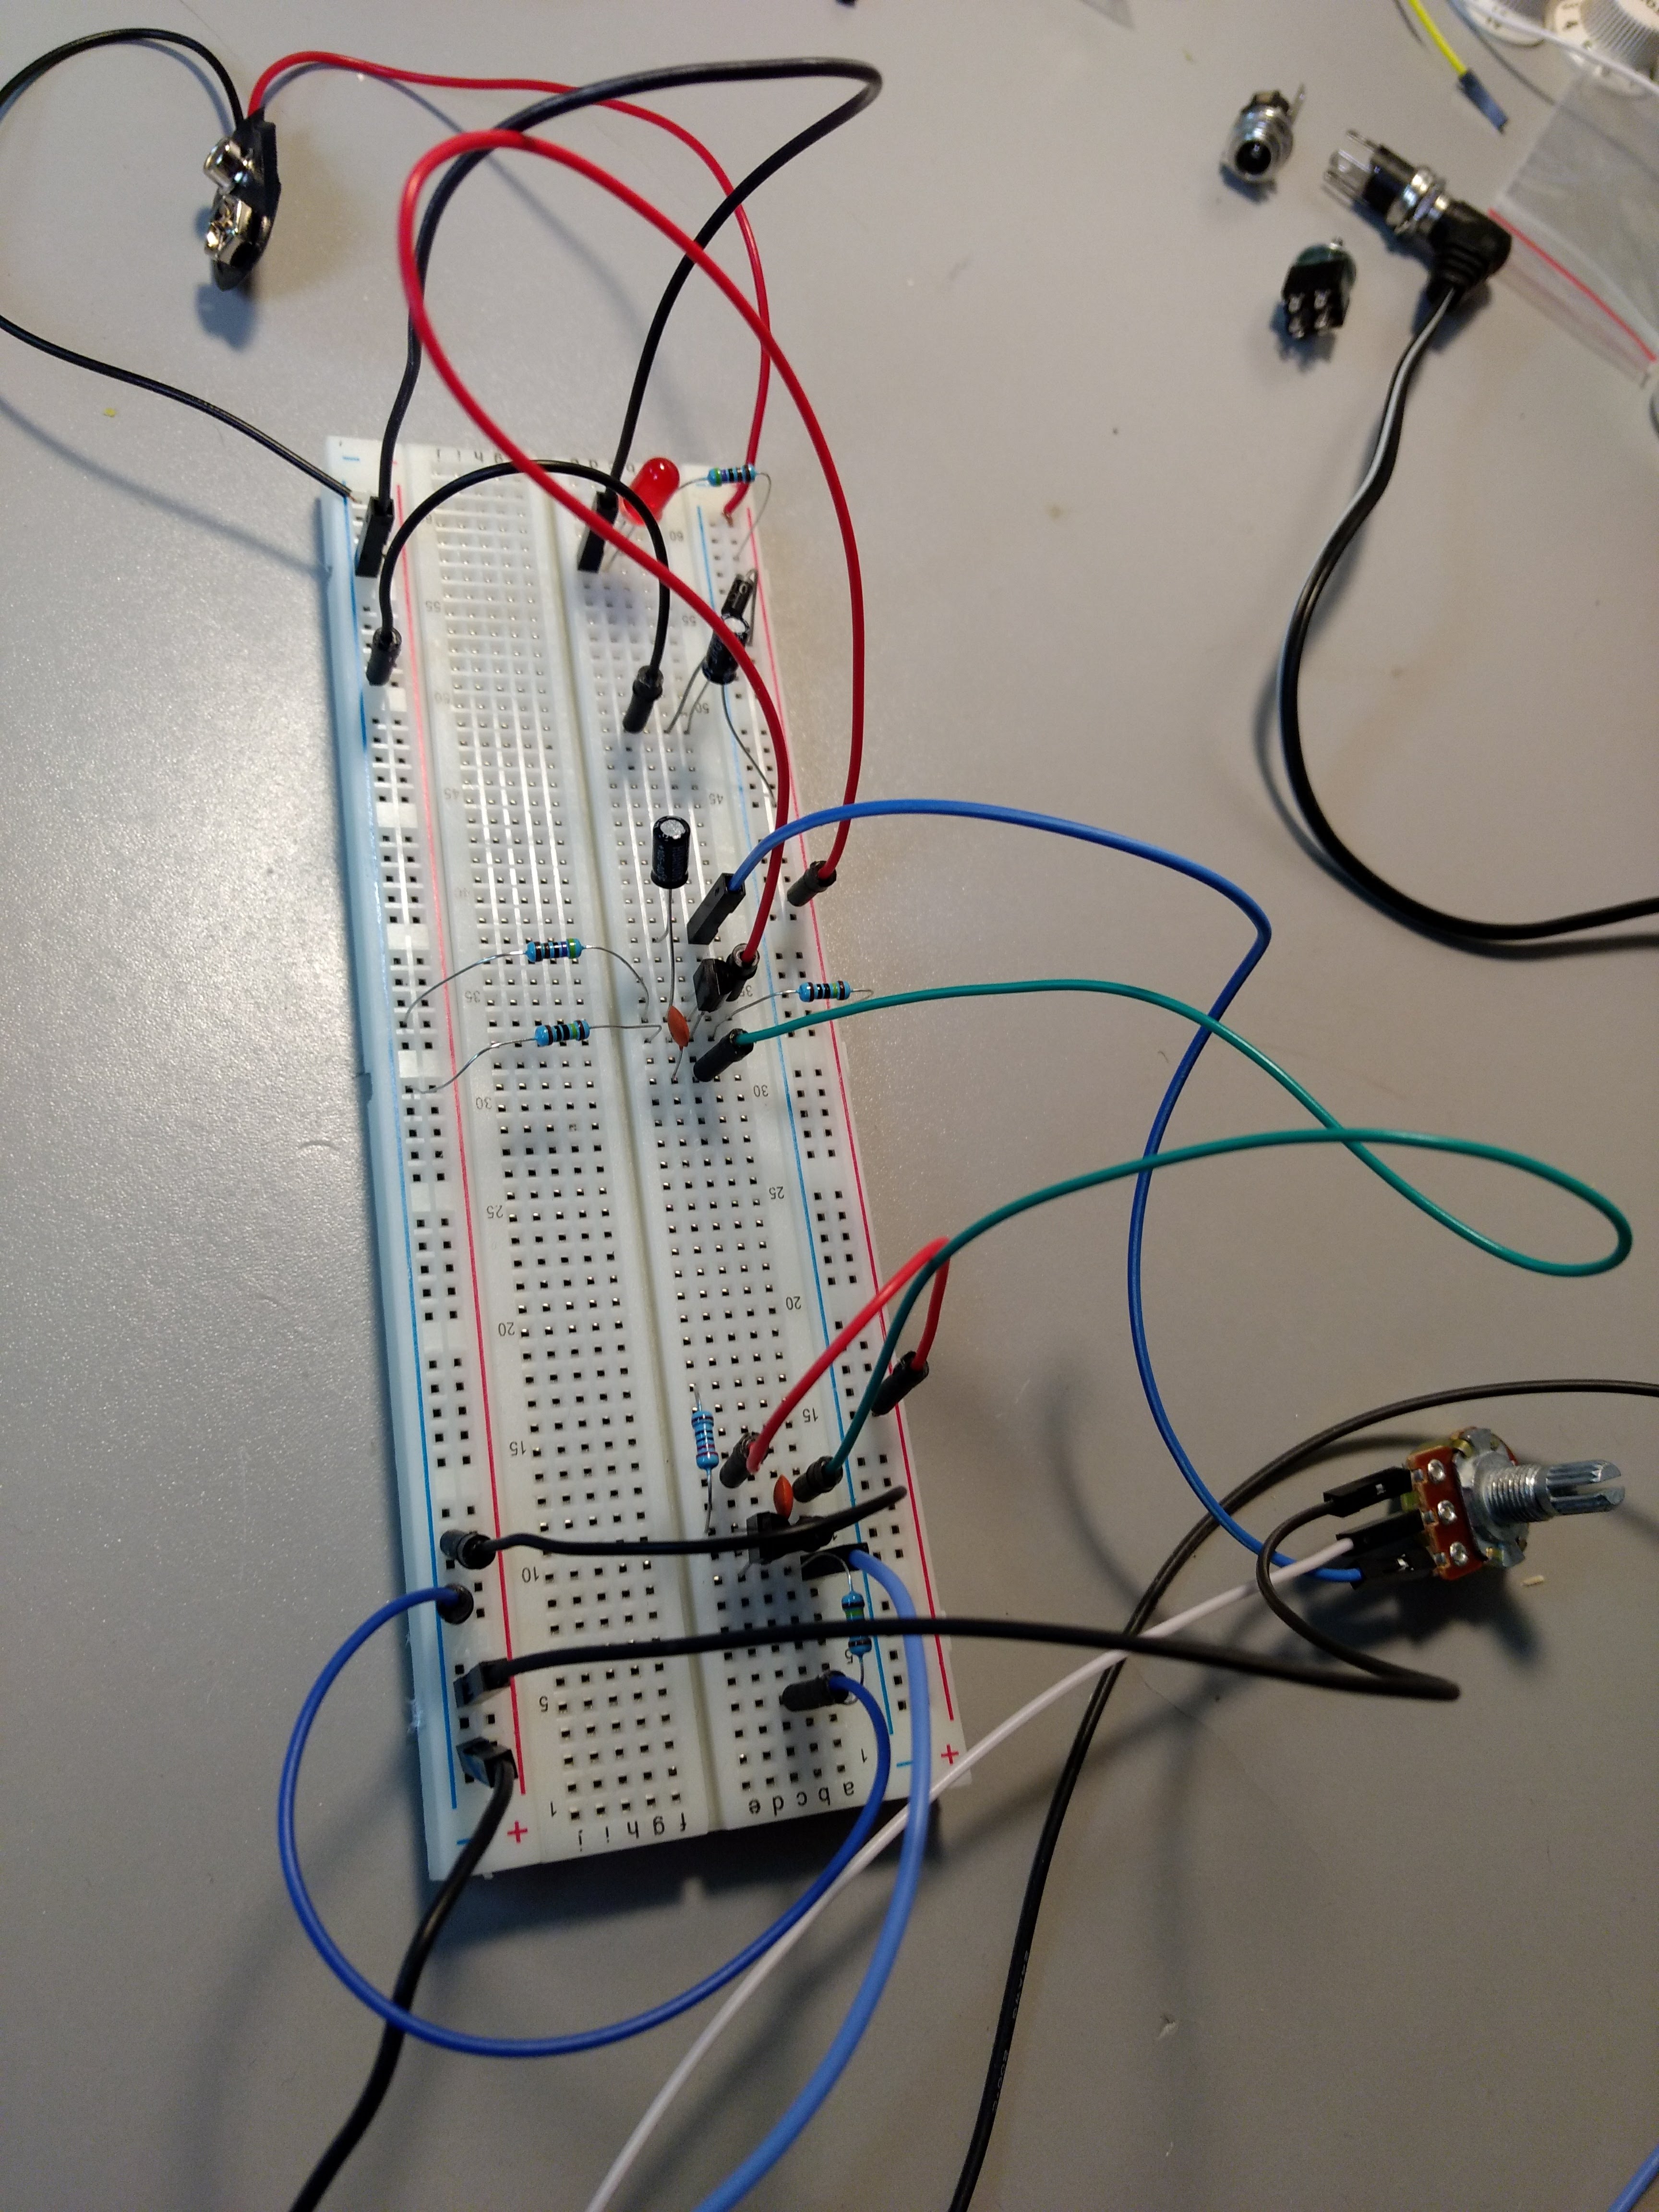
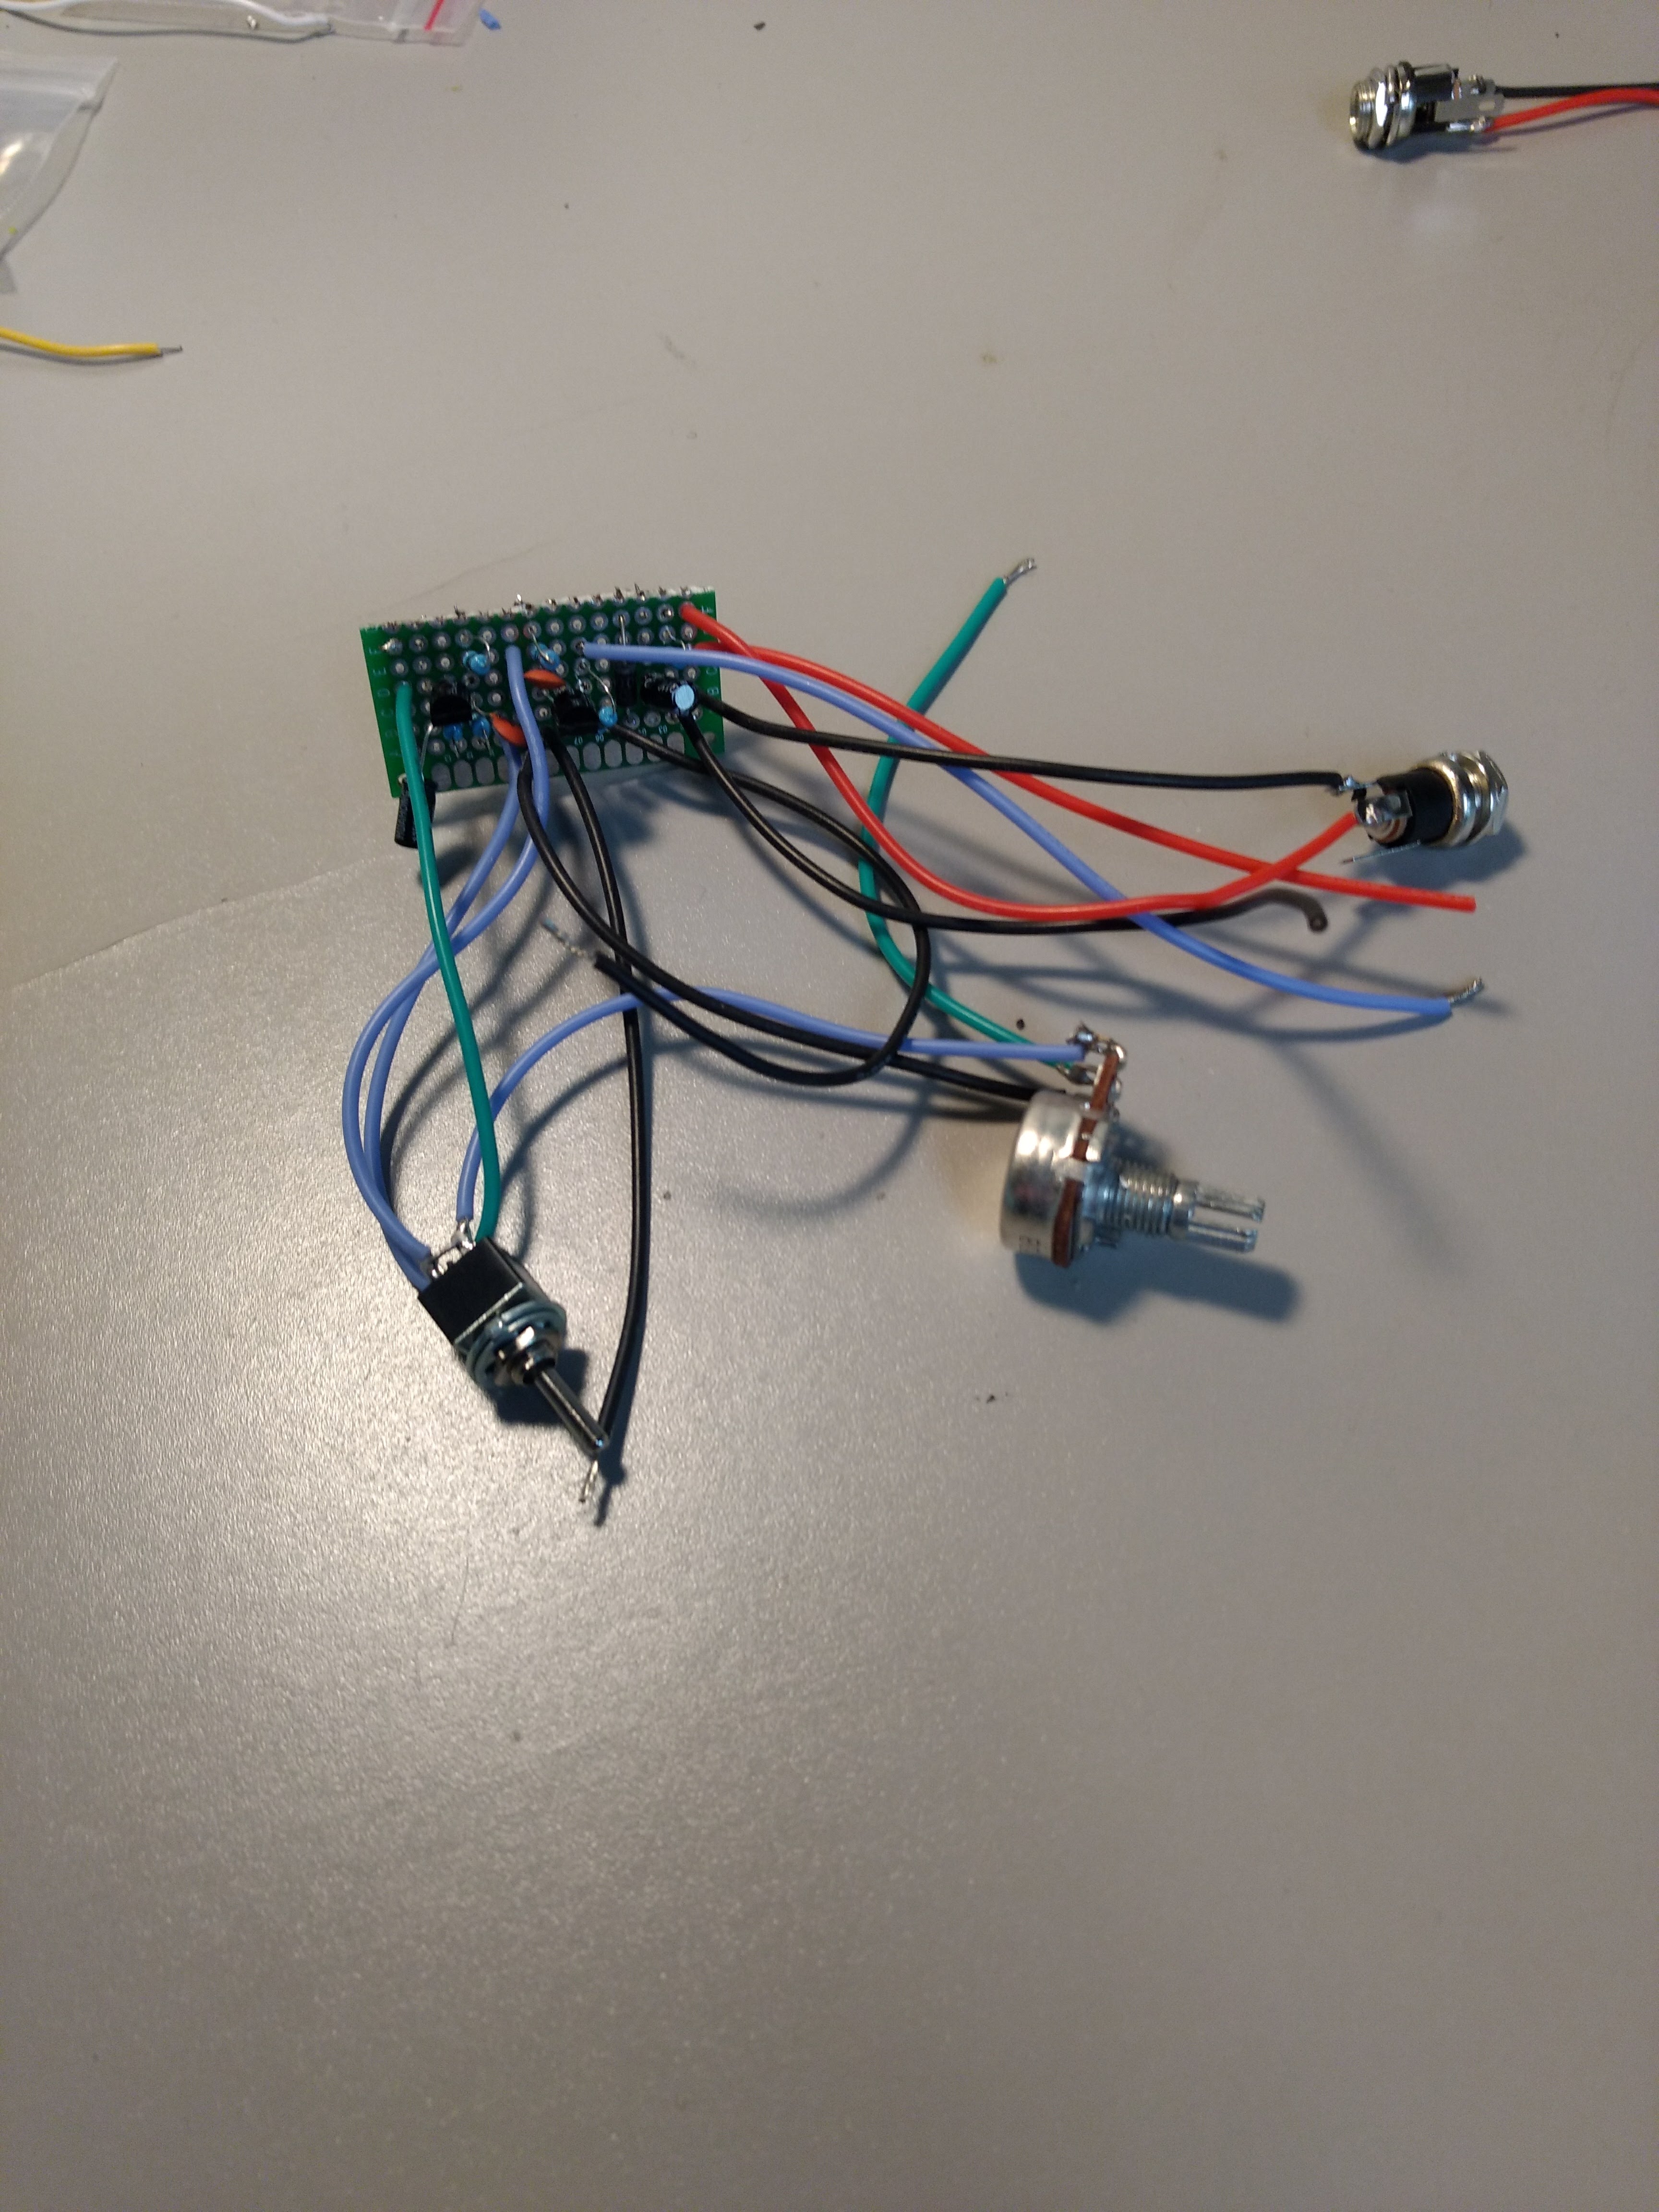
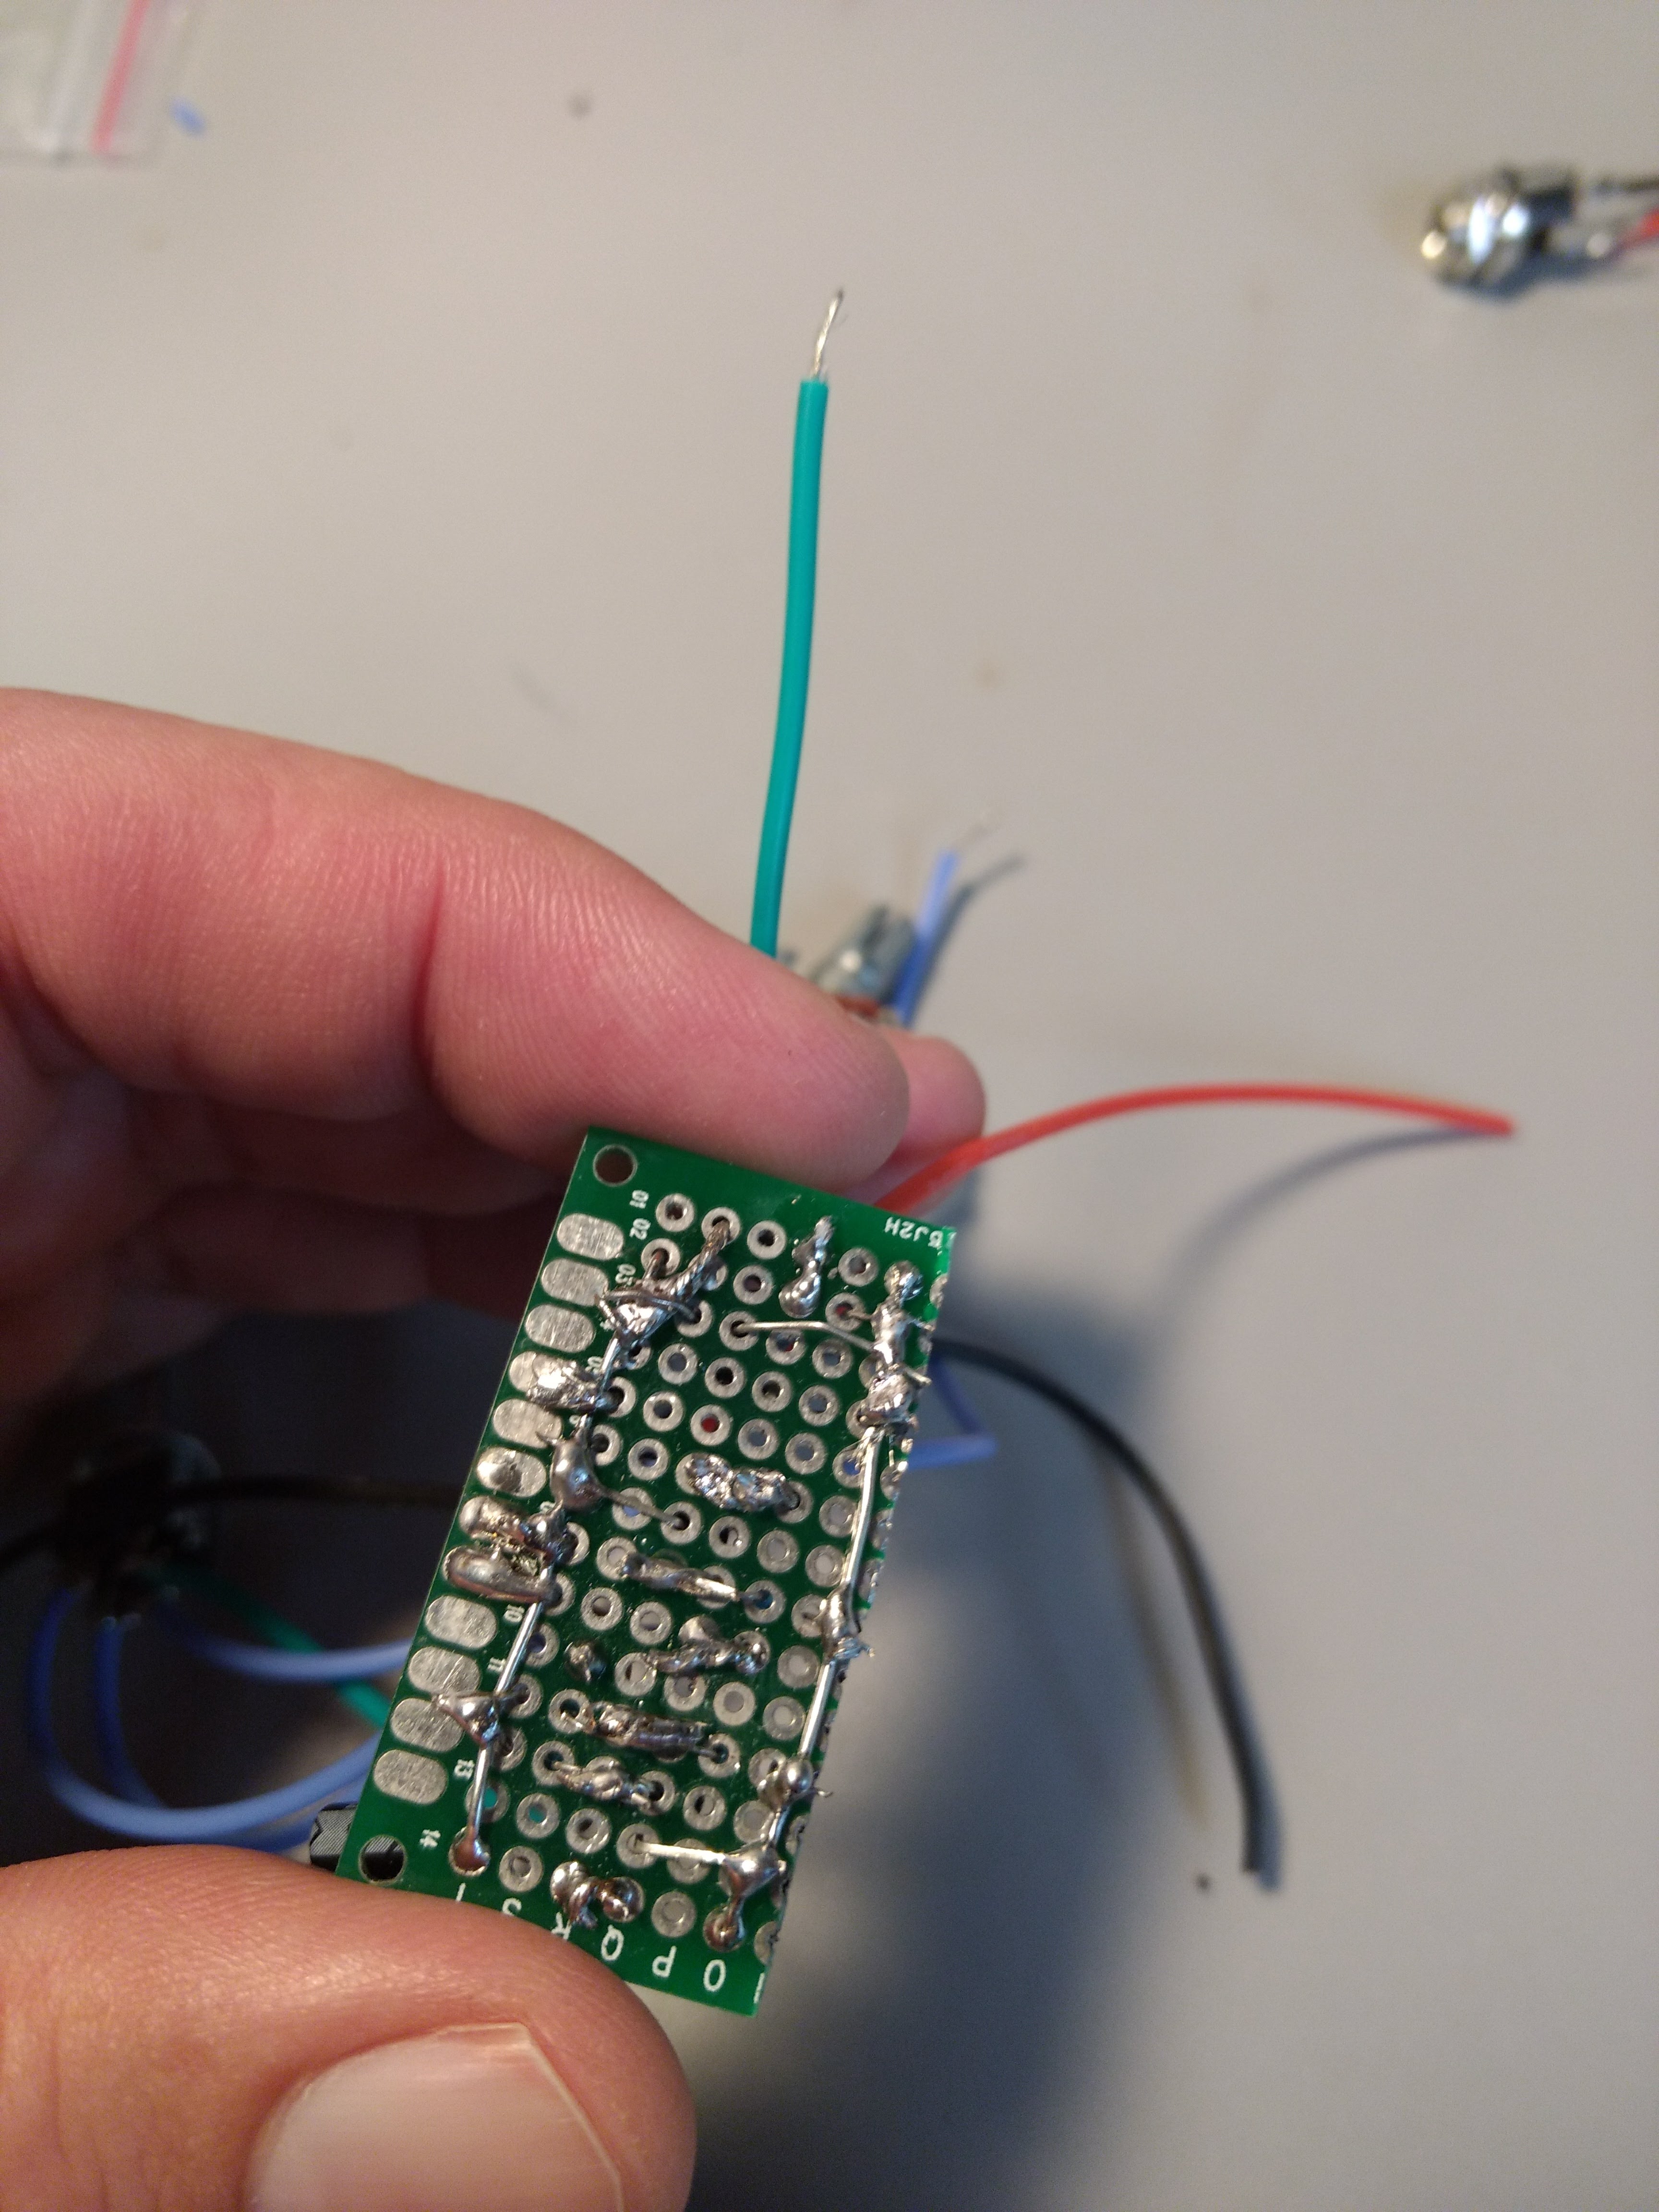
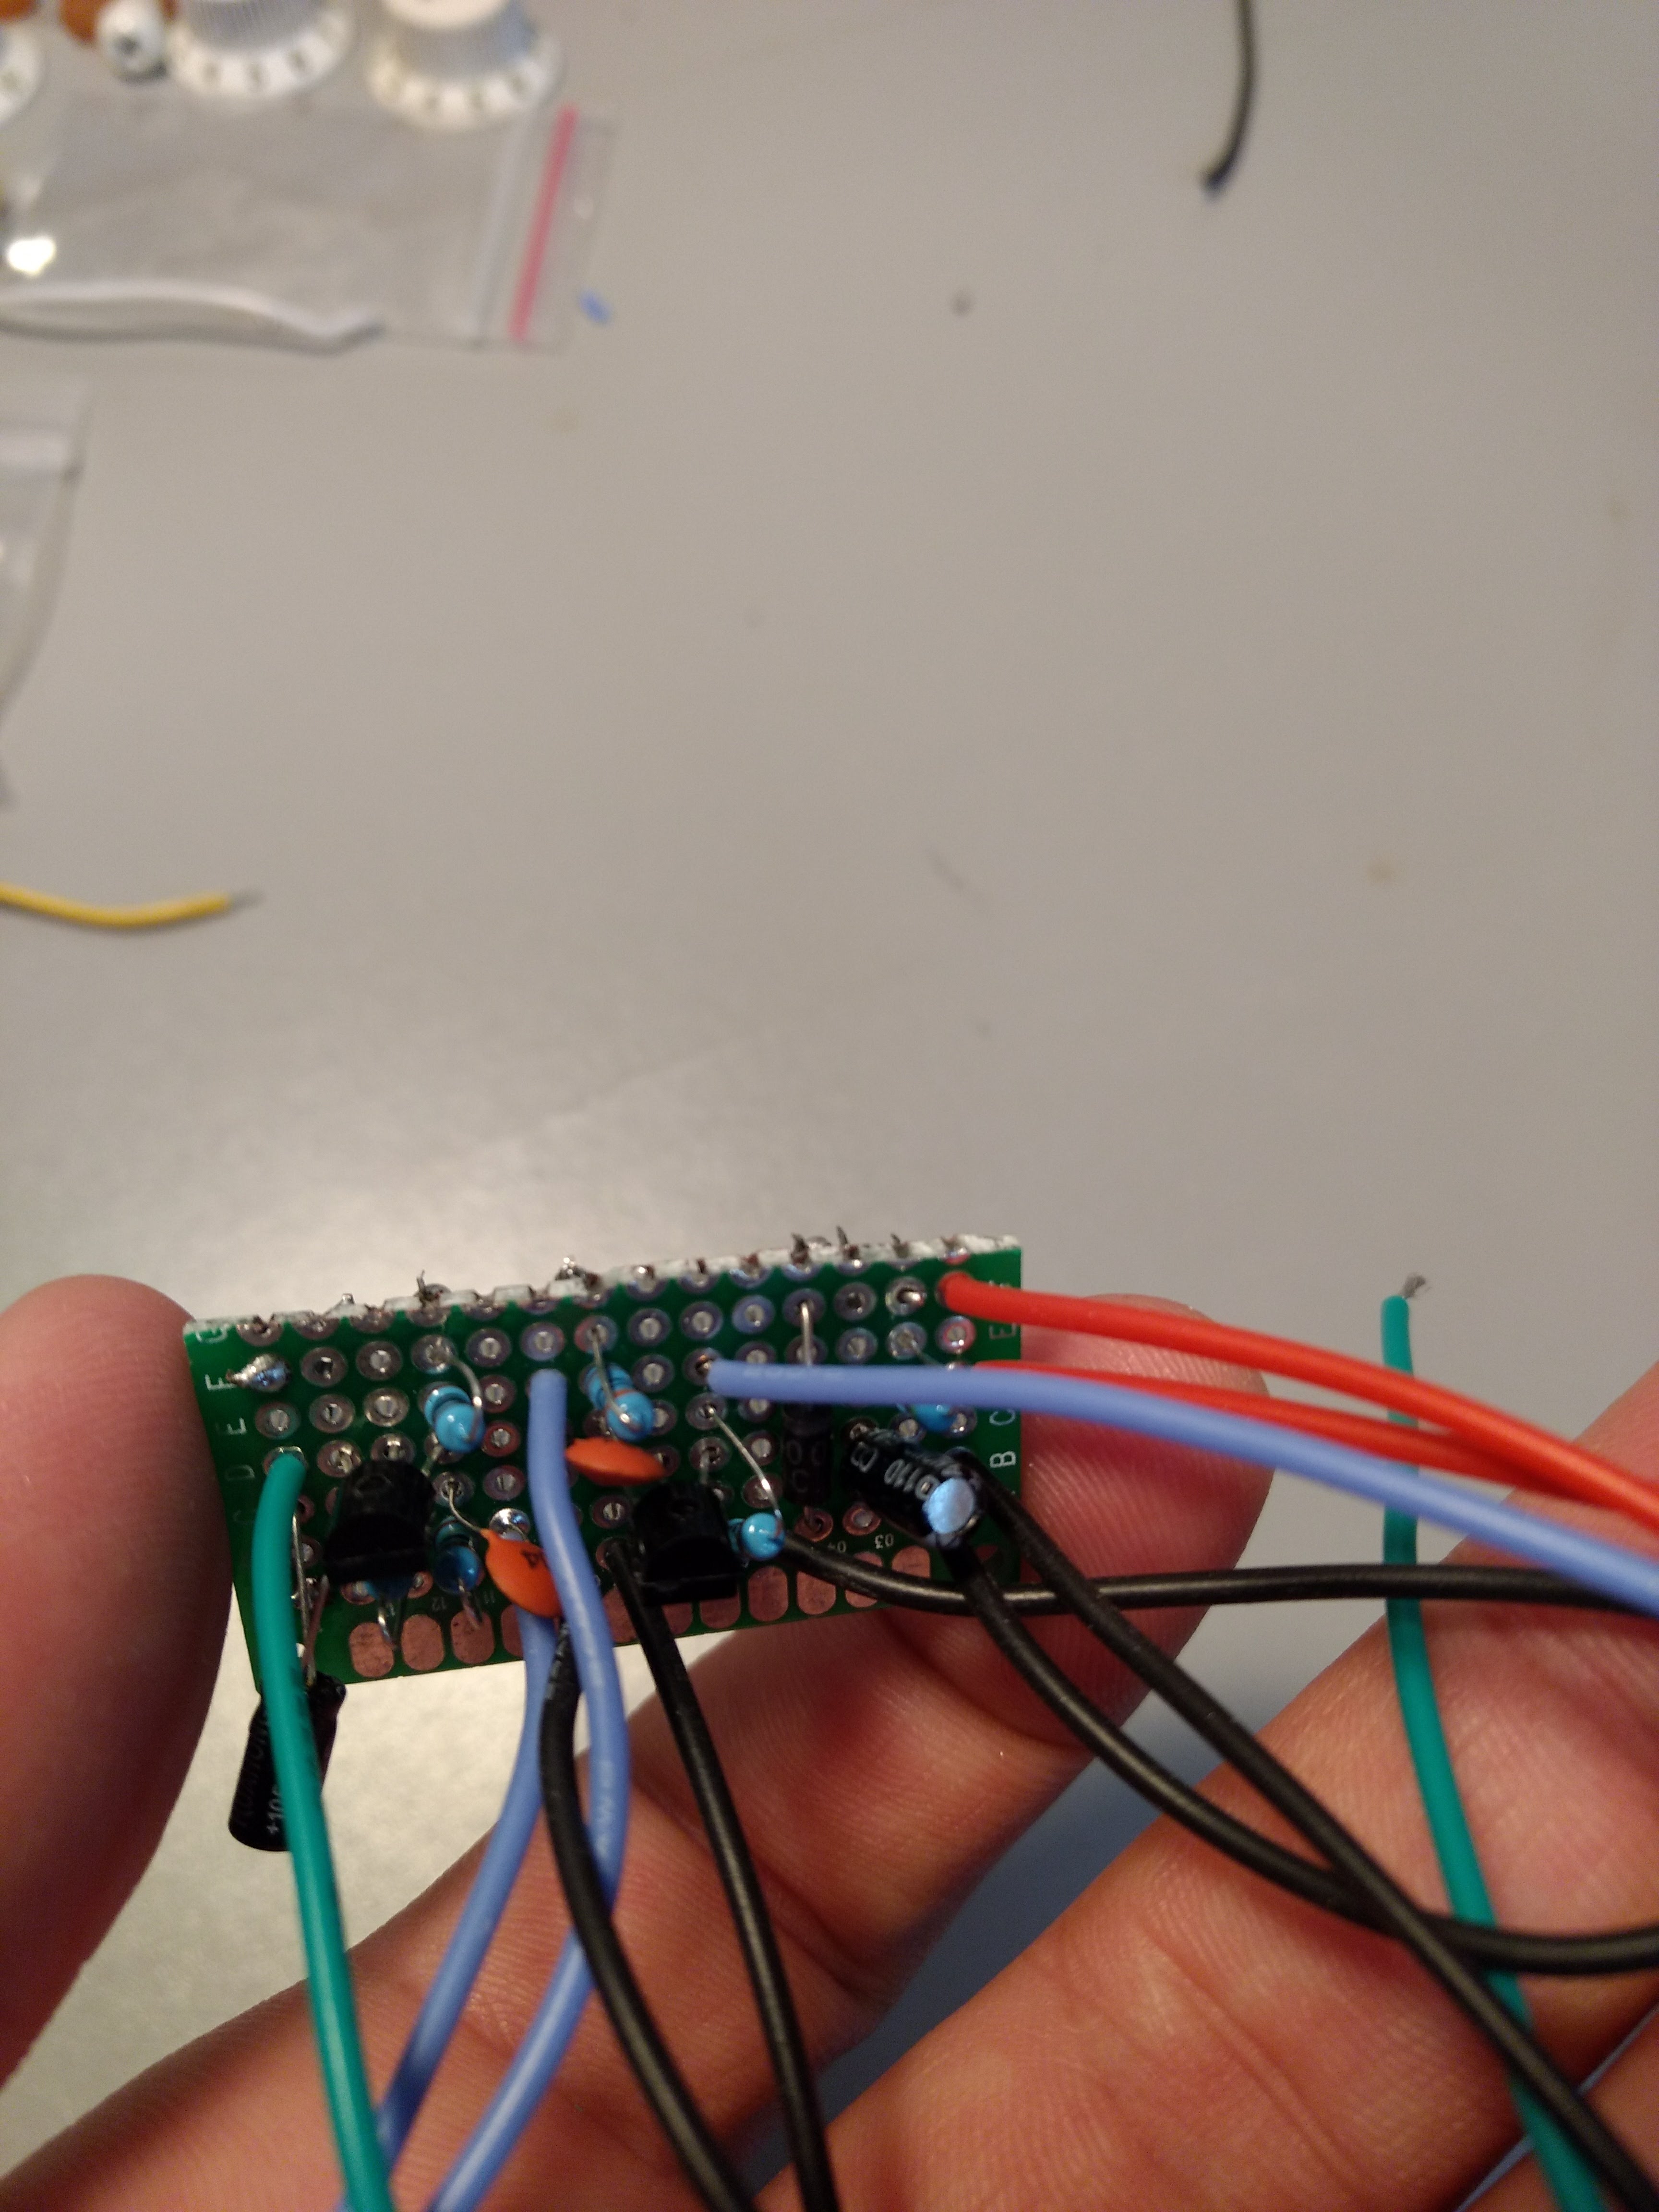
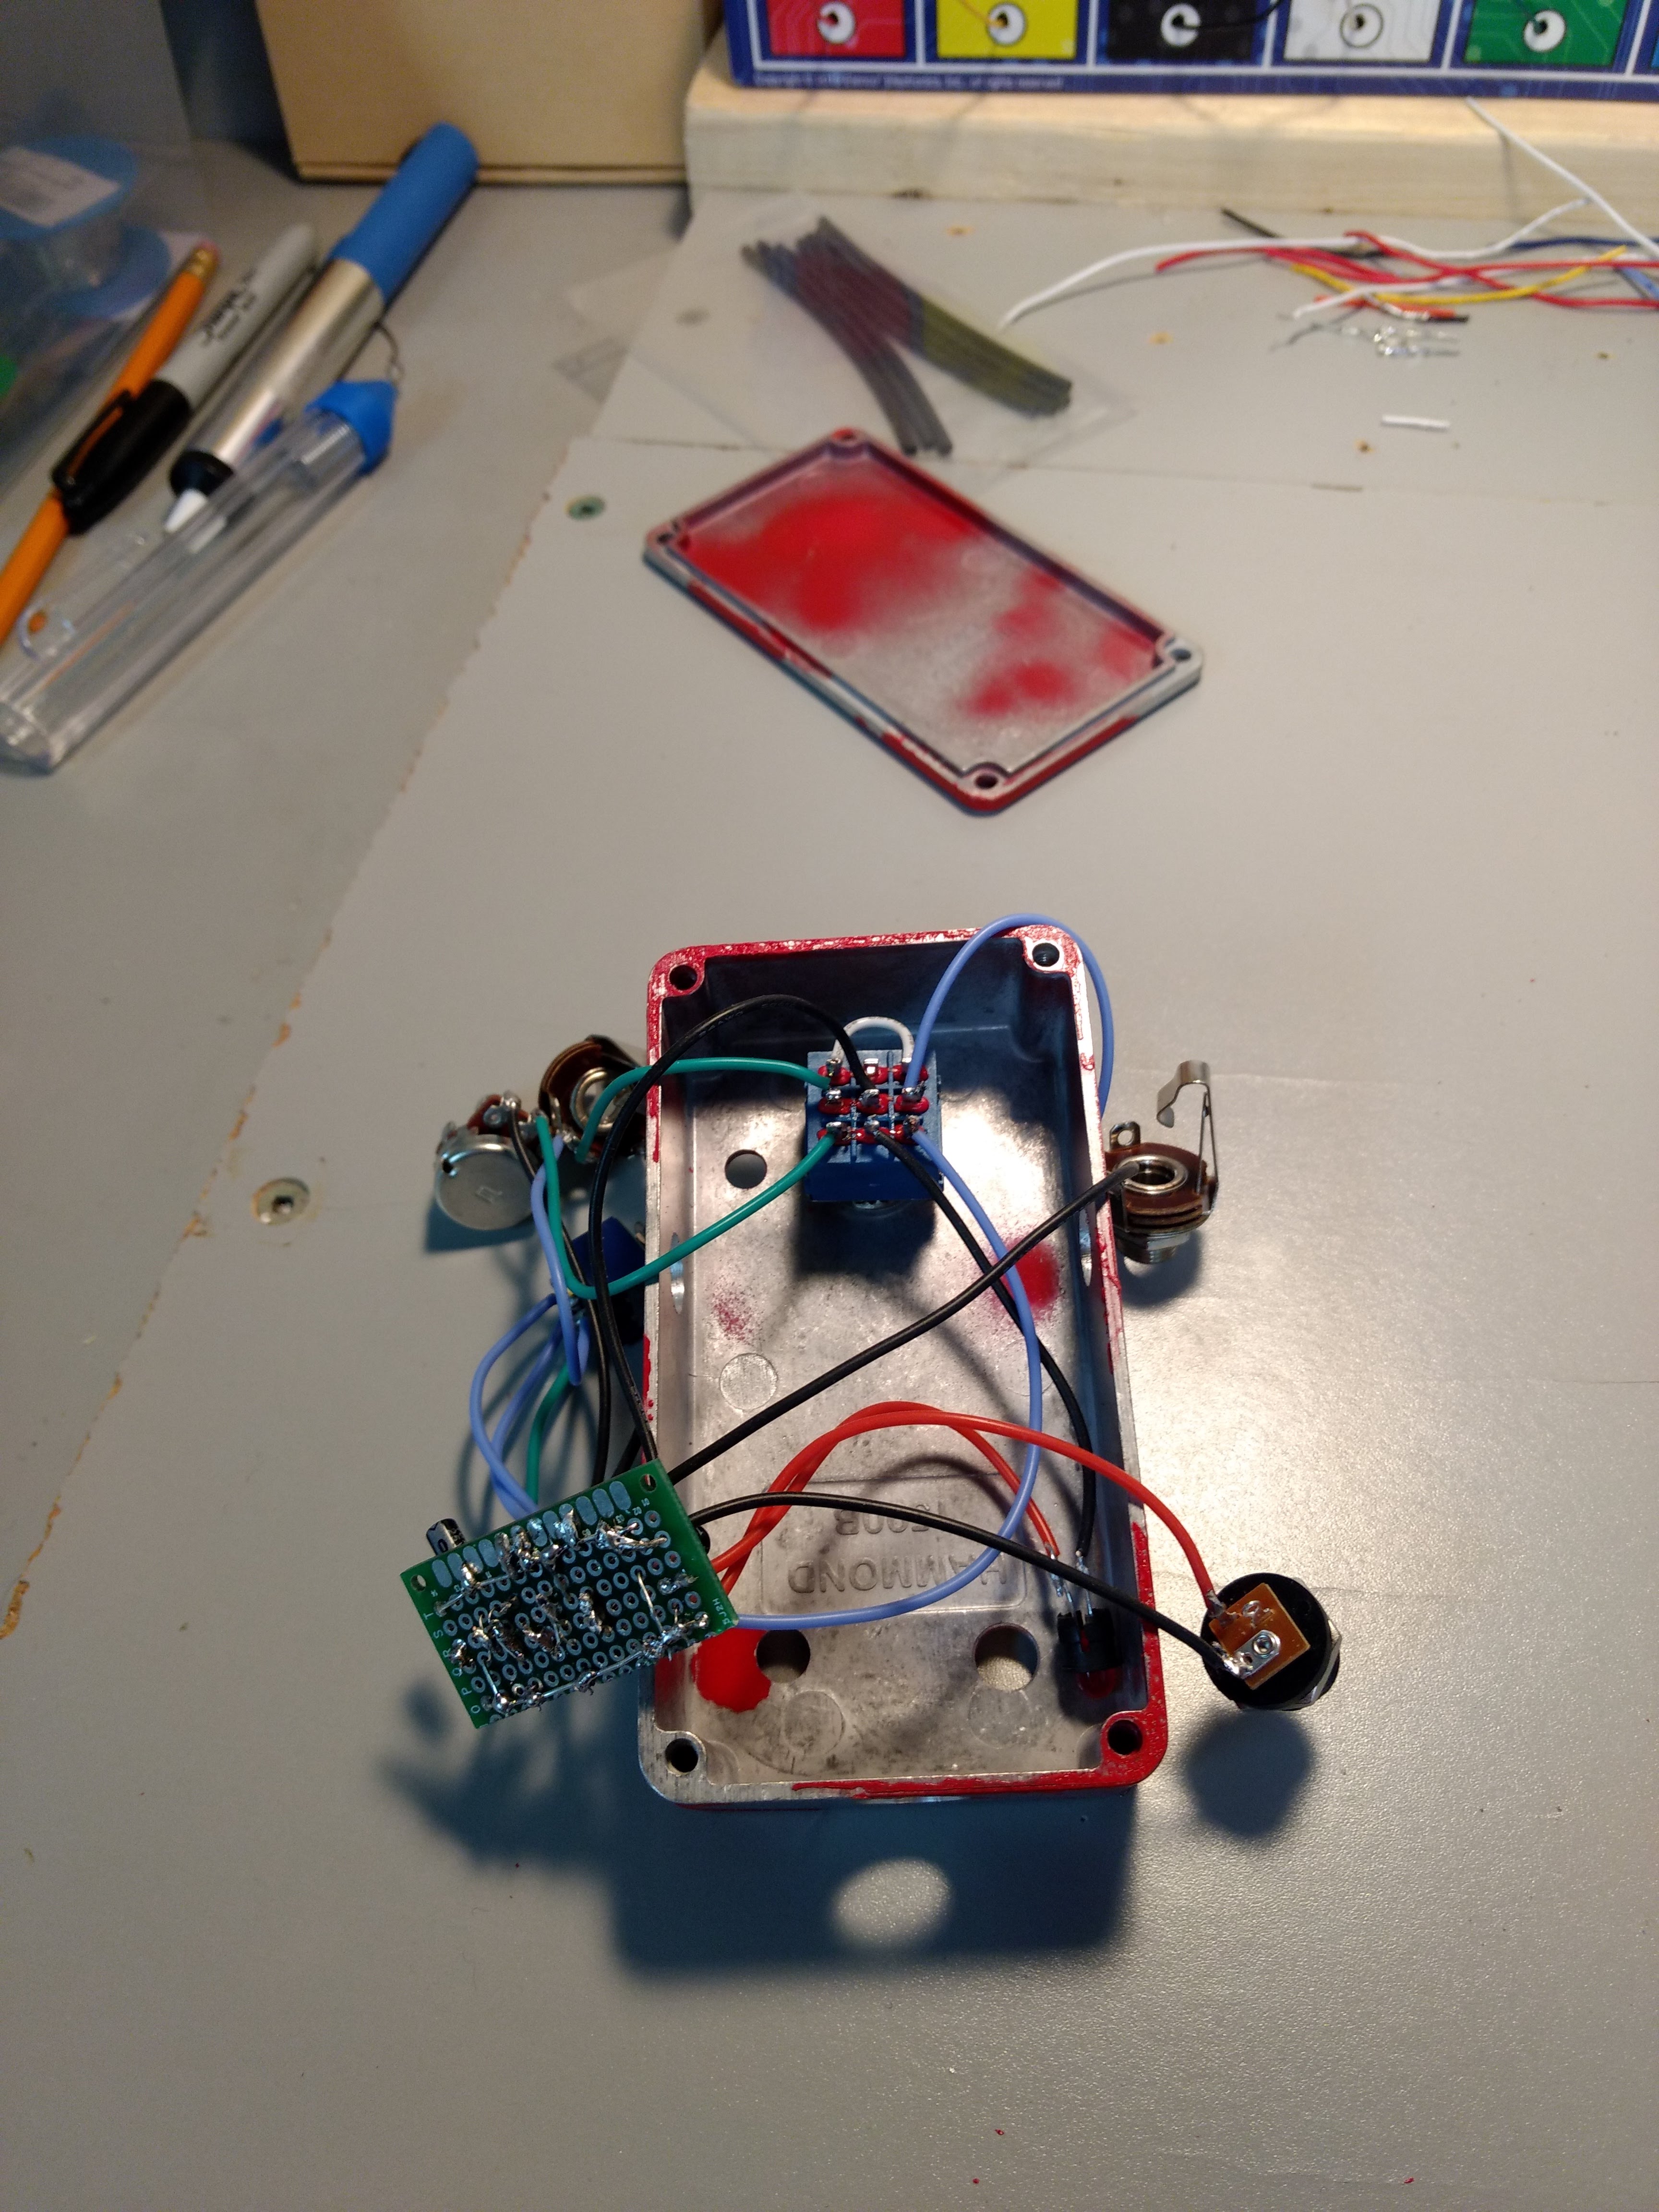
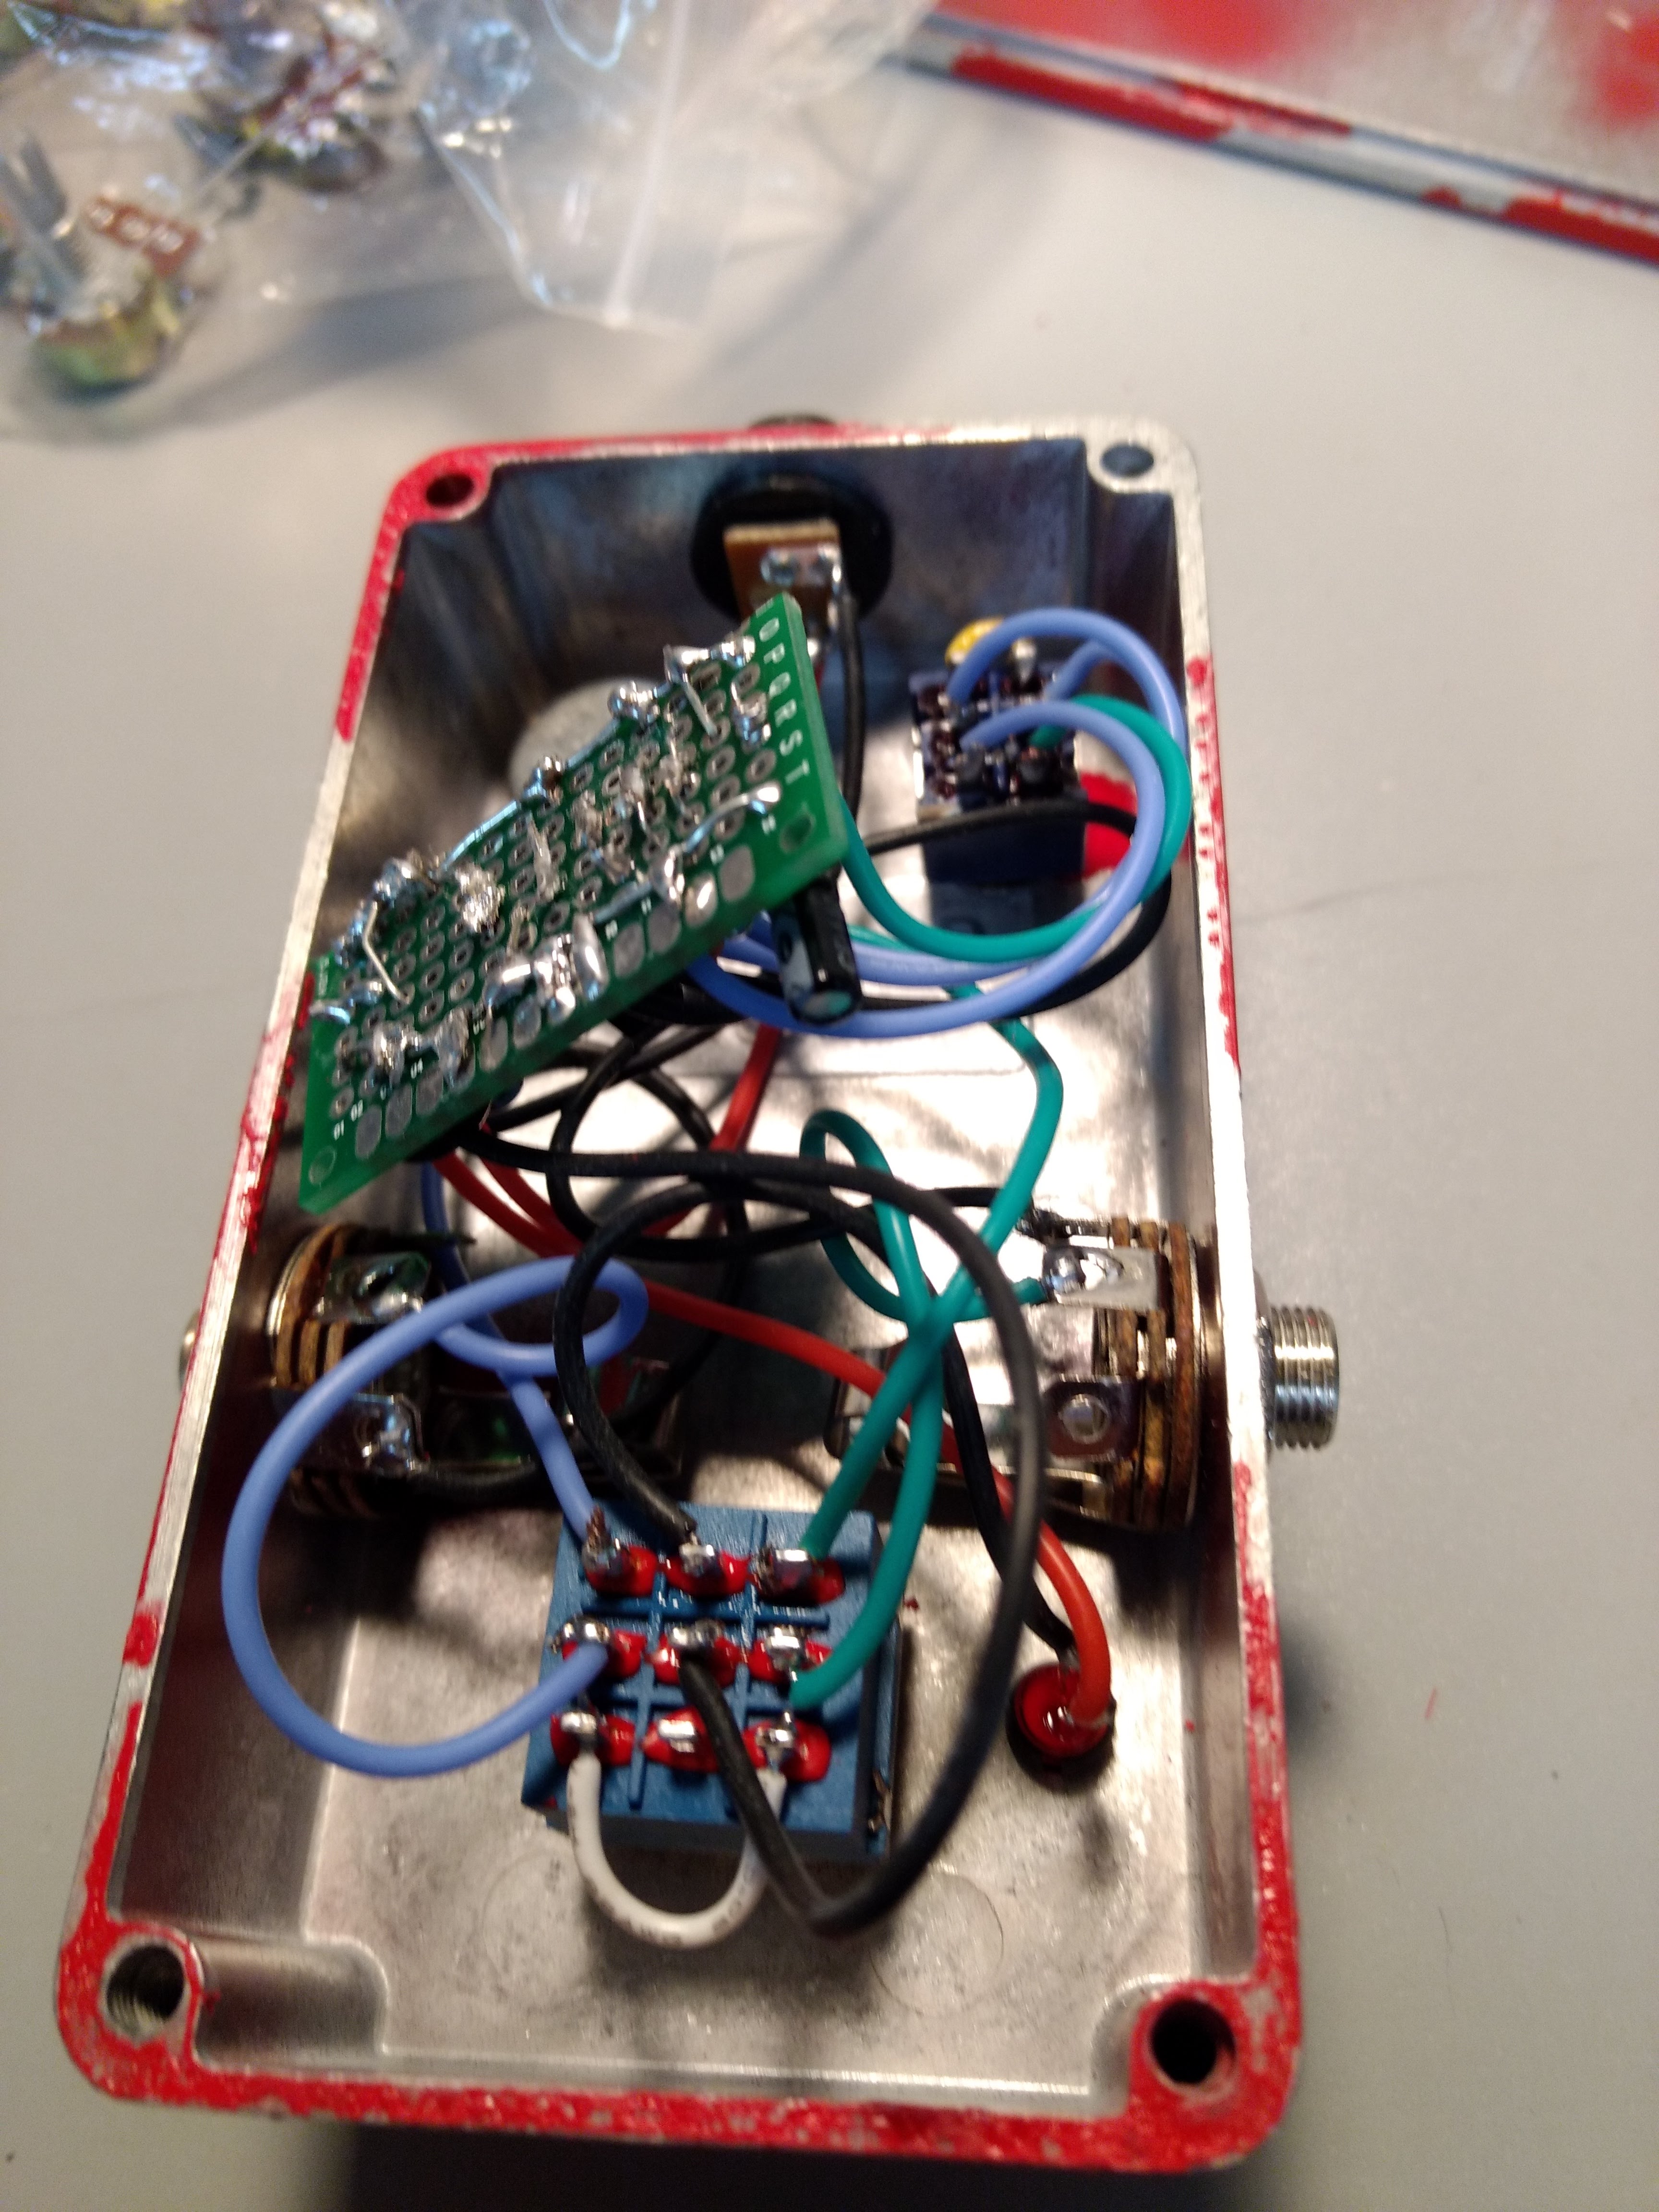
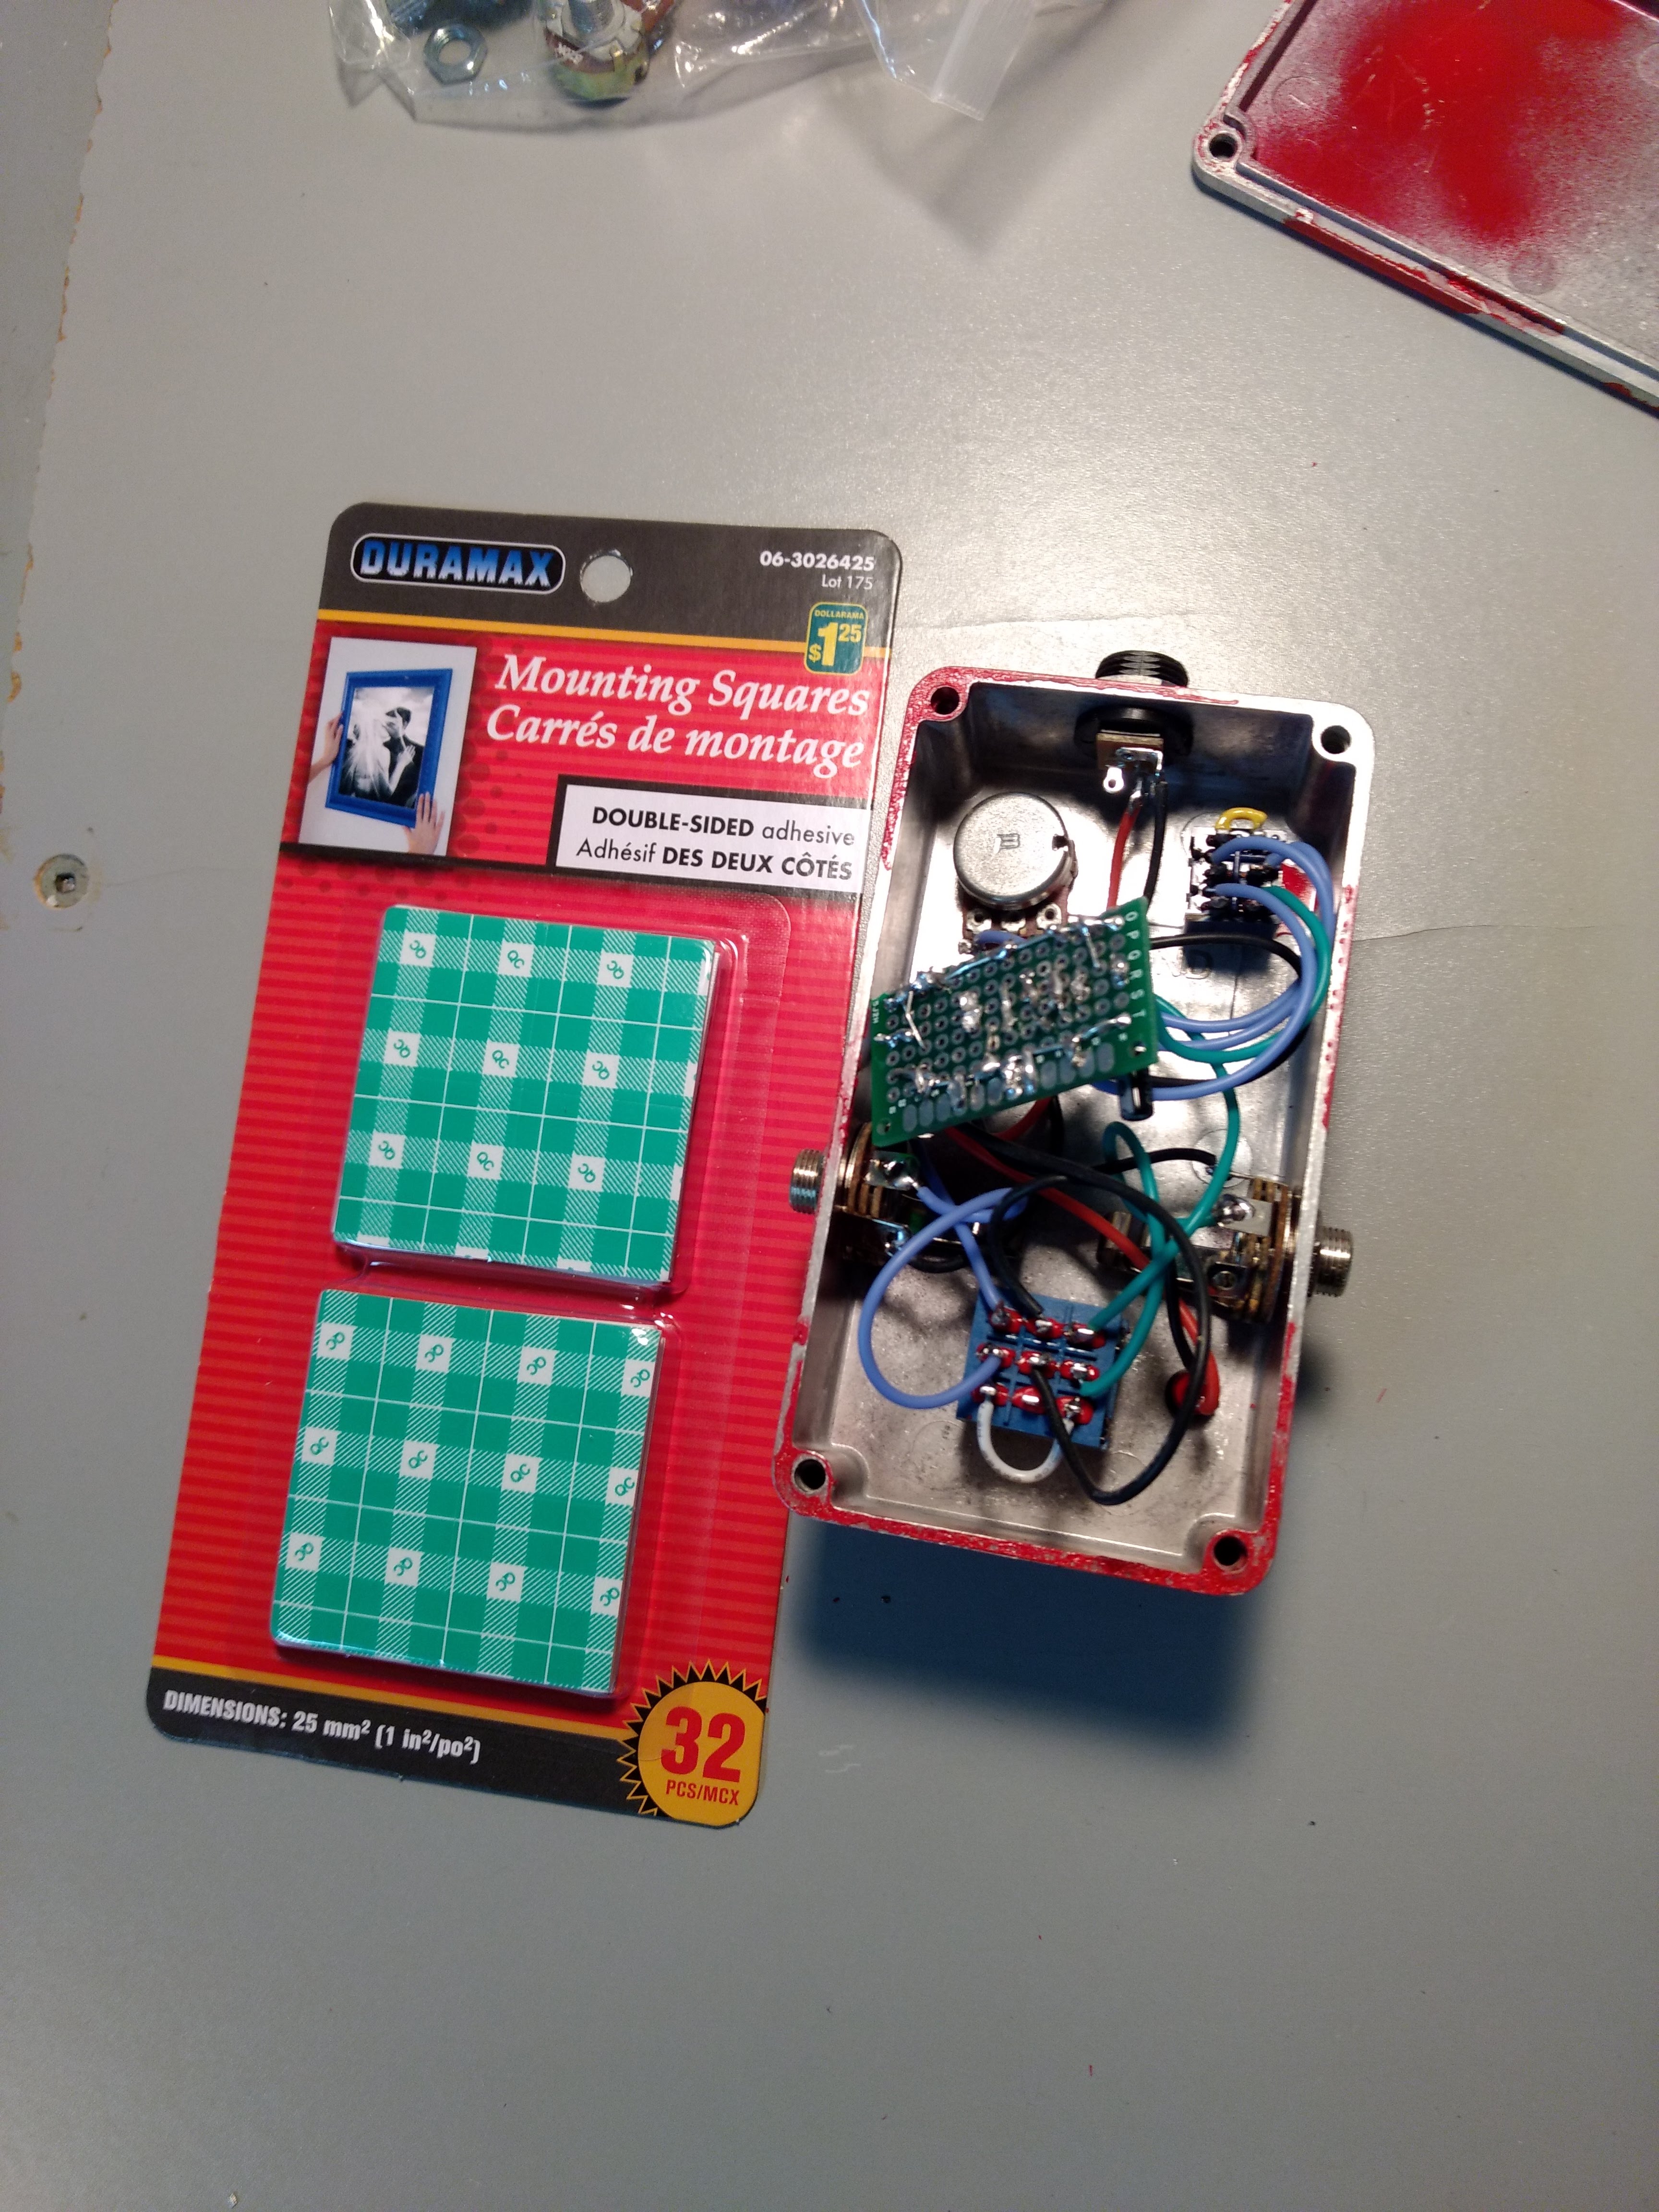
Building it
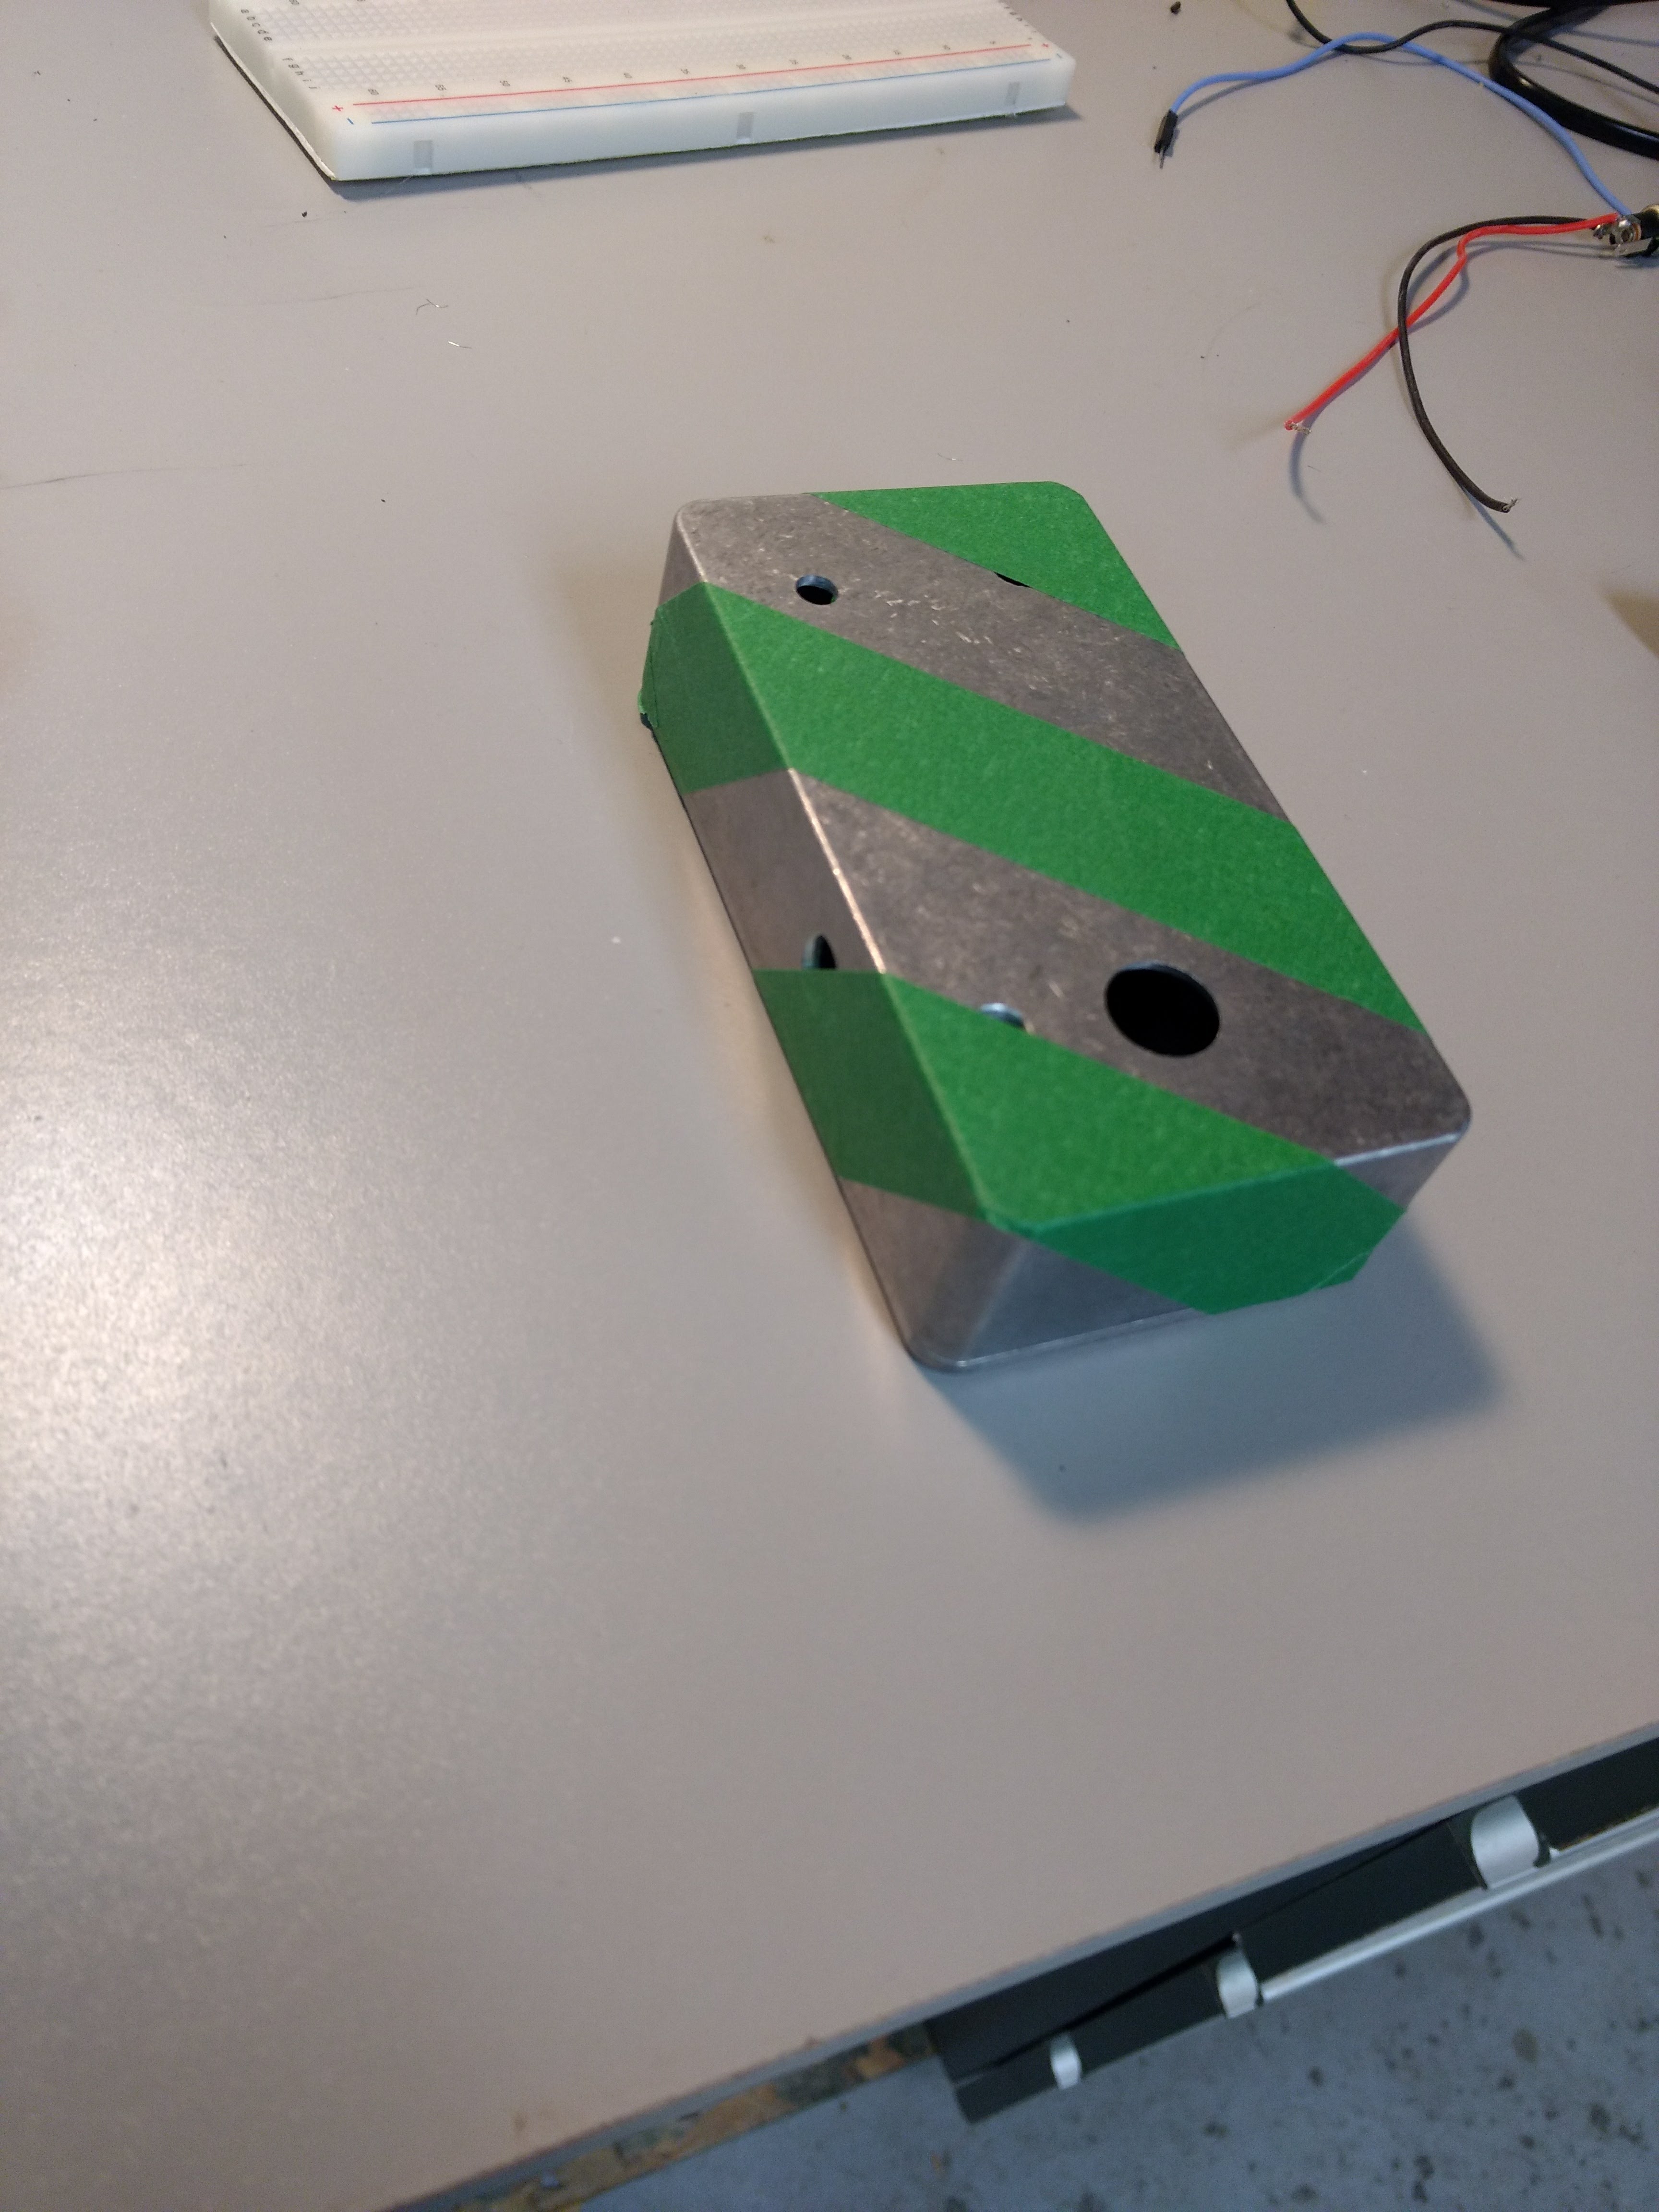
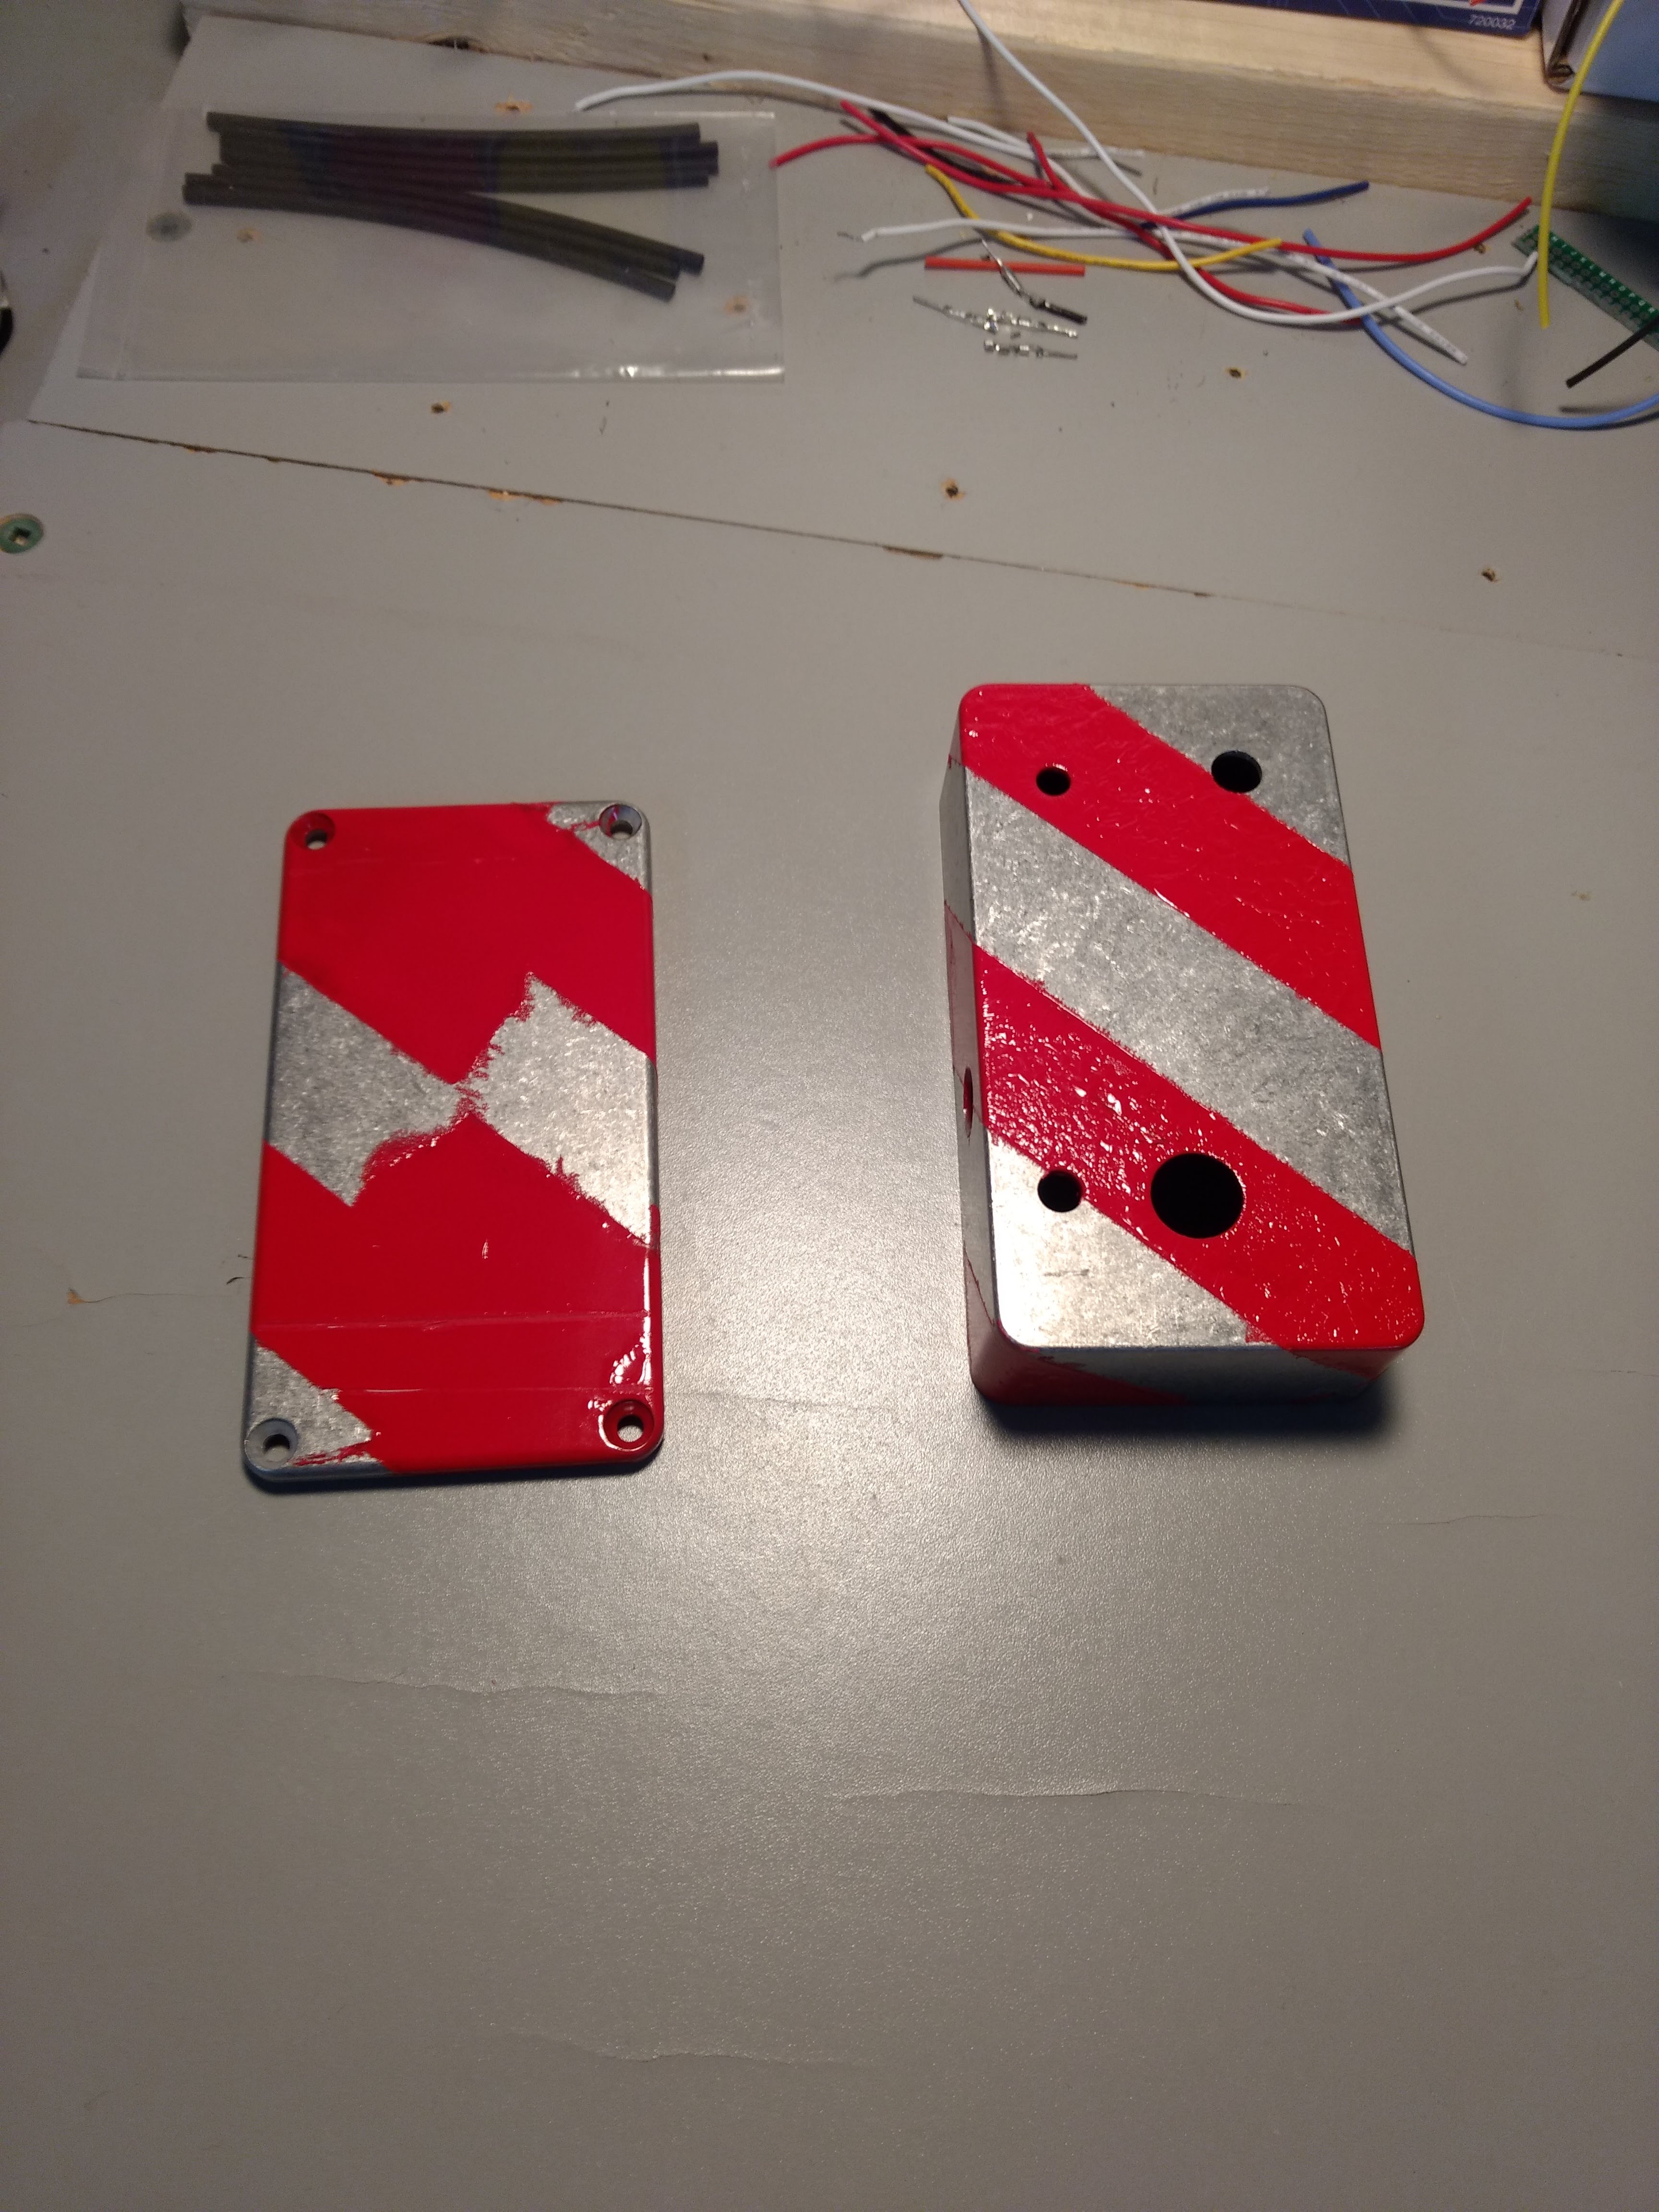
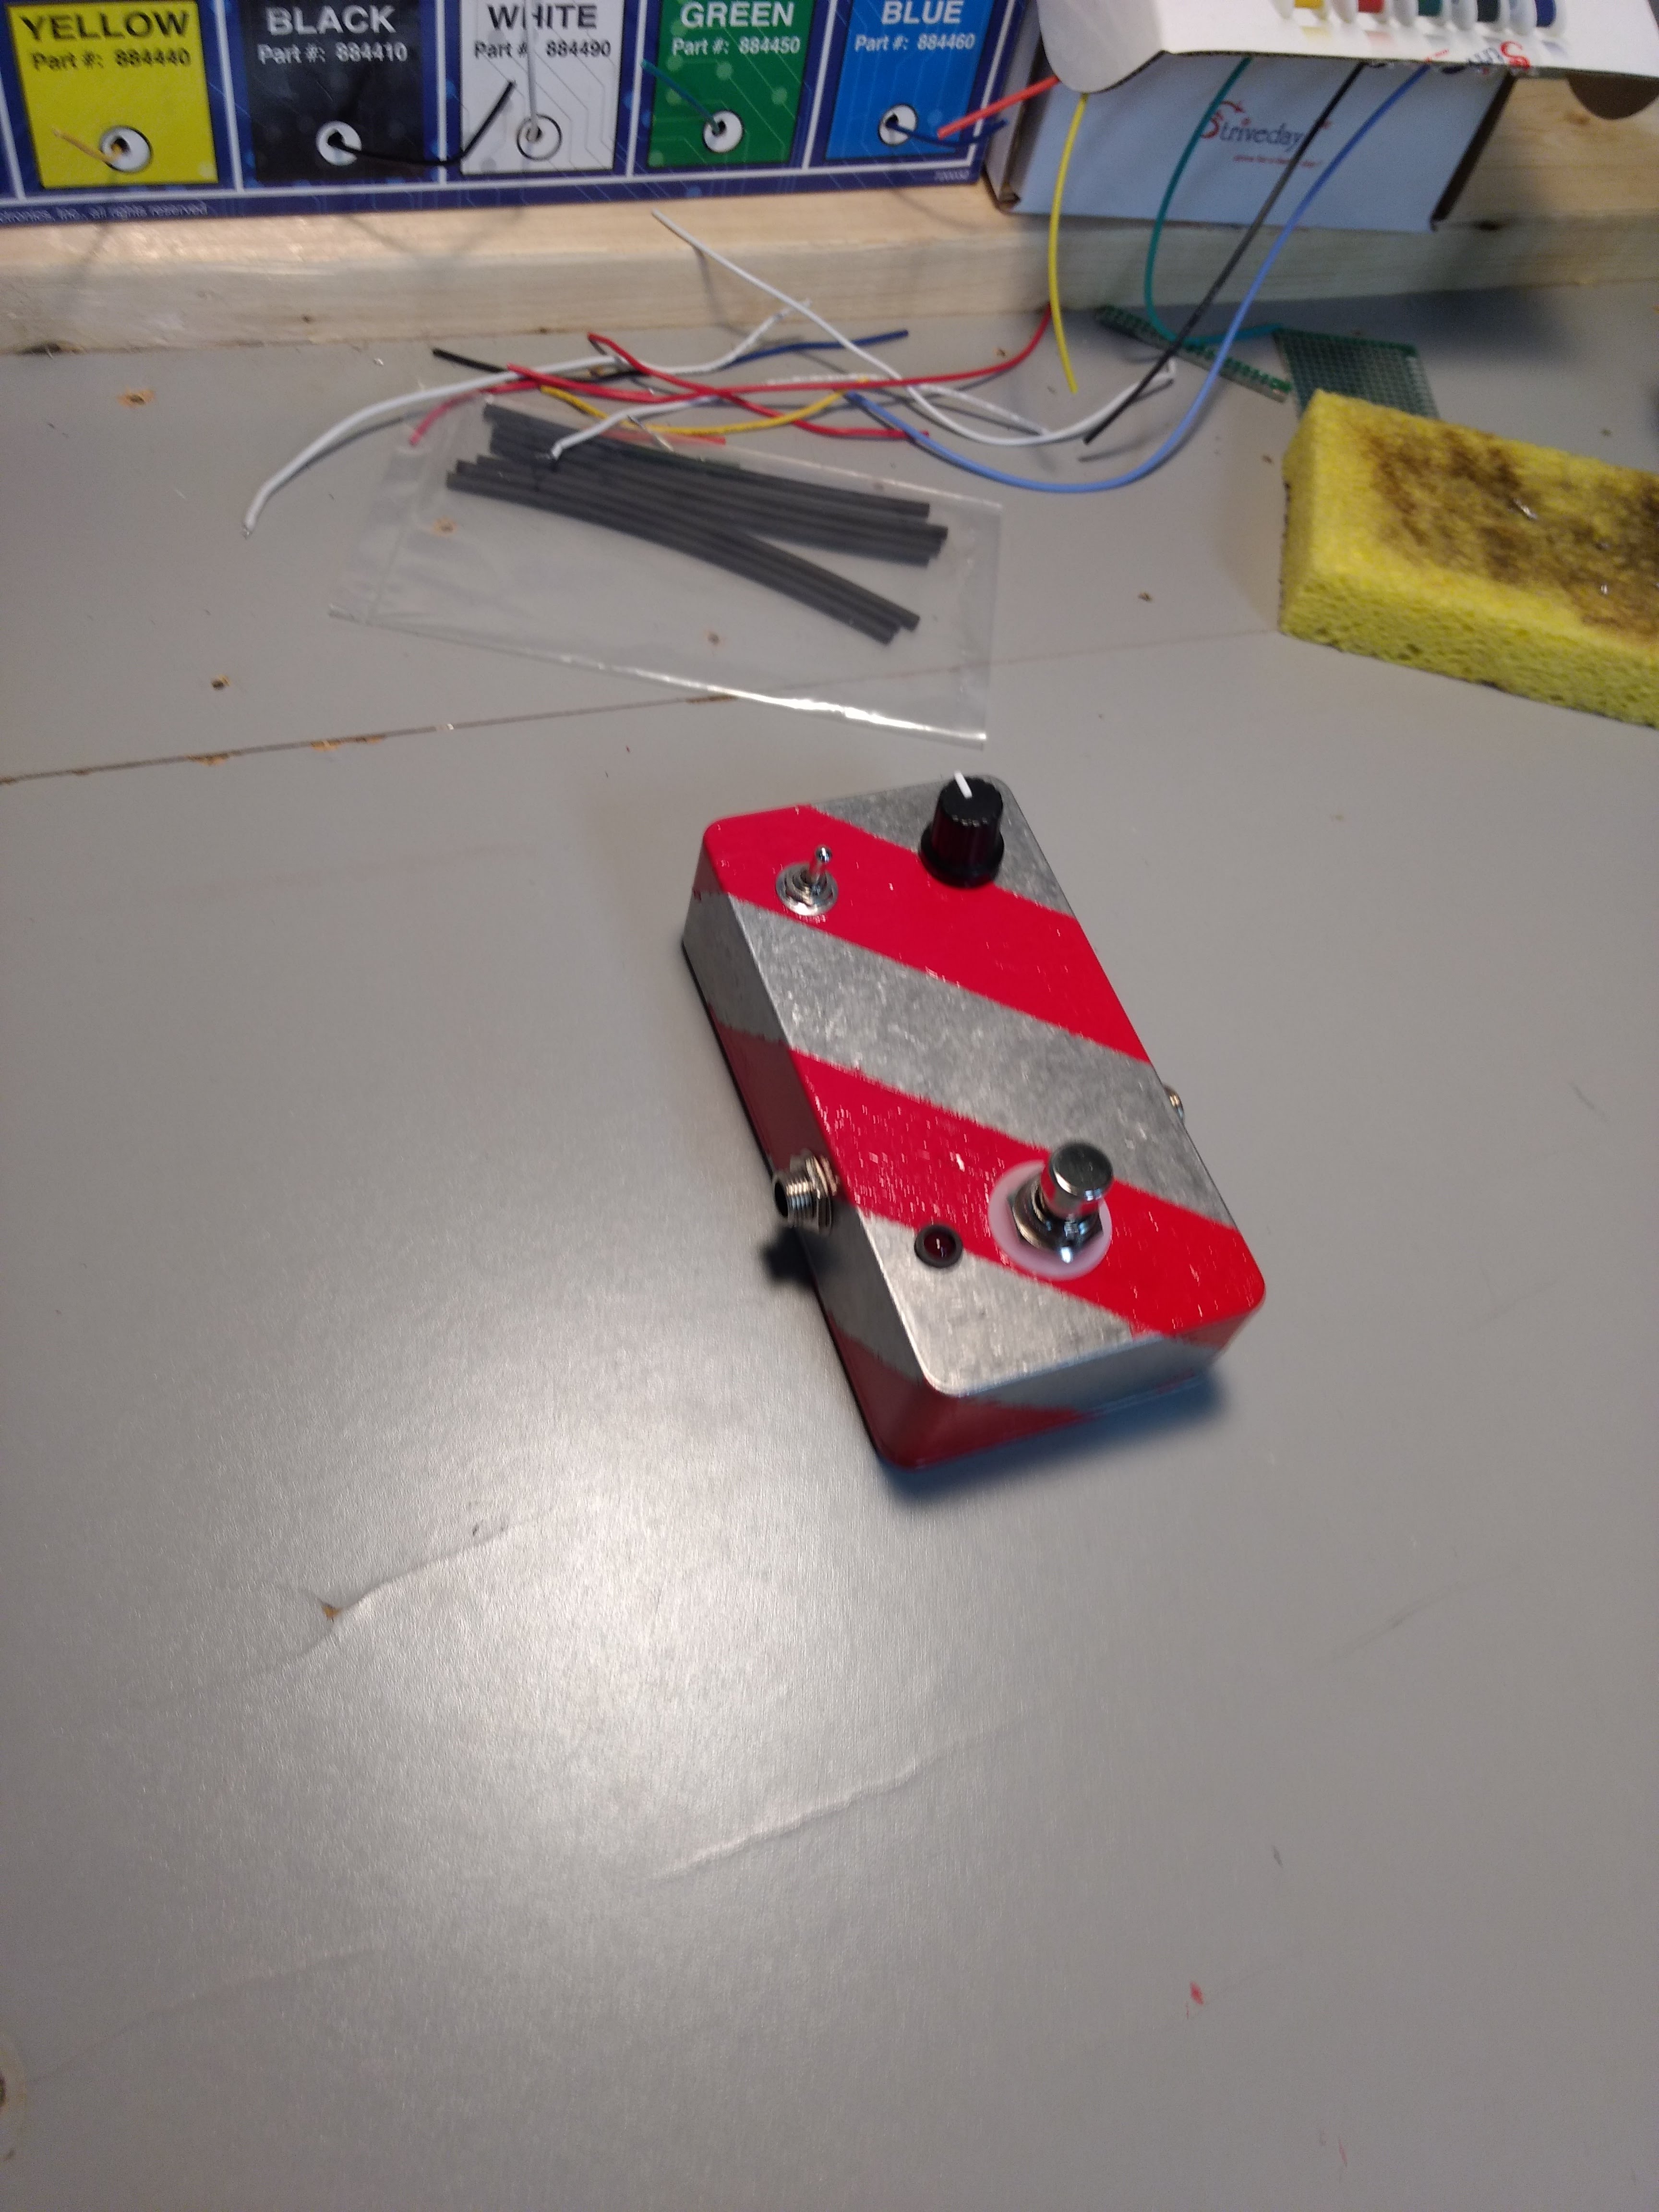
I went with a little enclosure, that I paint in red after drilling the holes.
 |
 |
 |
 |
 |
 |
 |
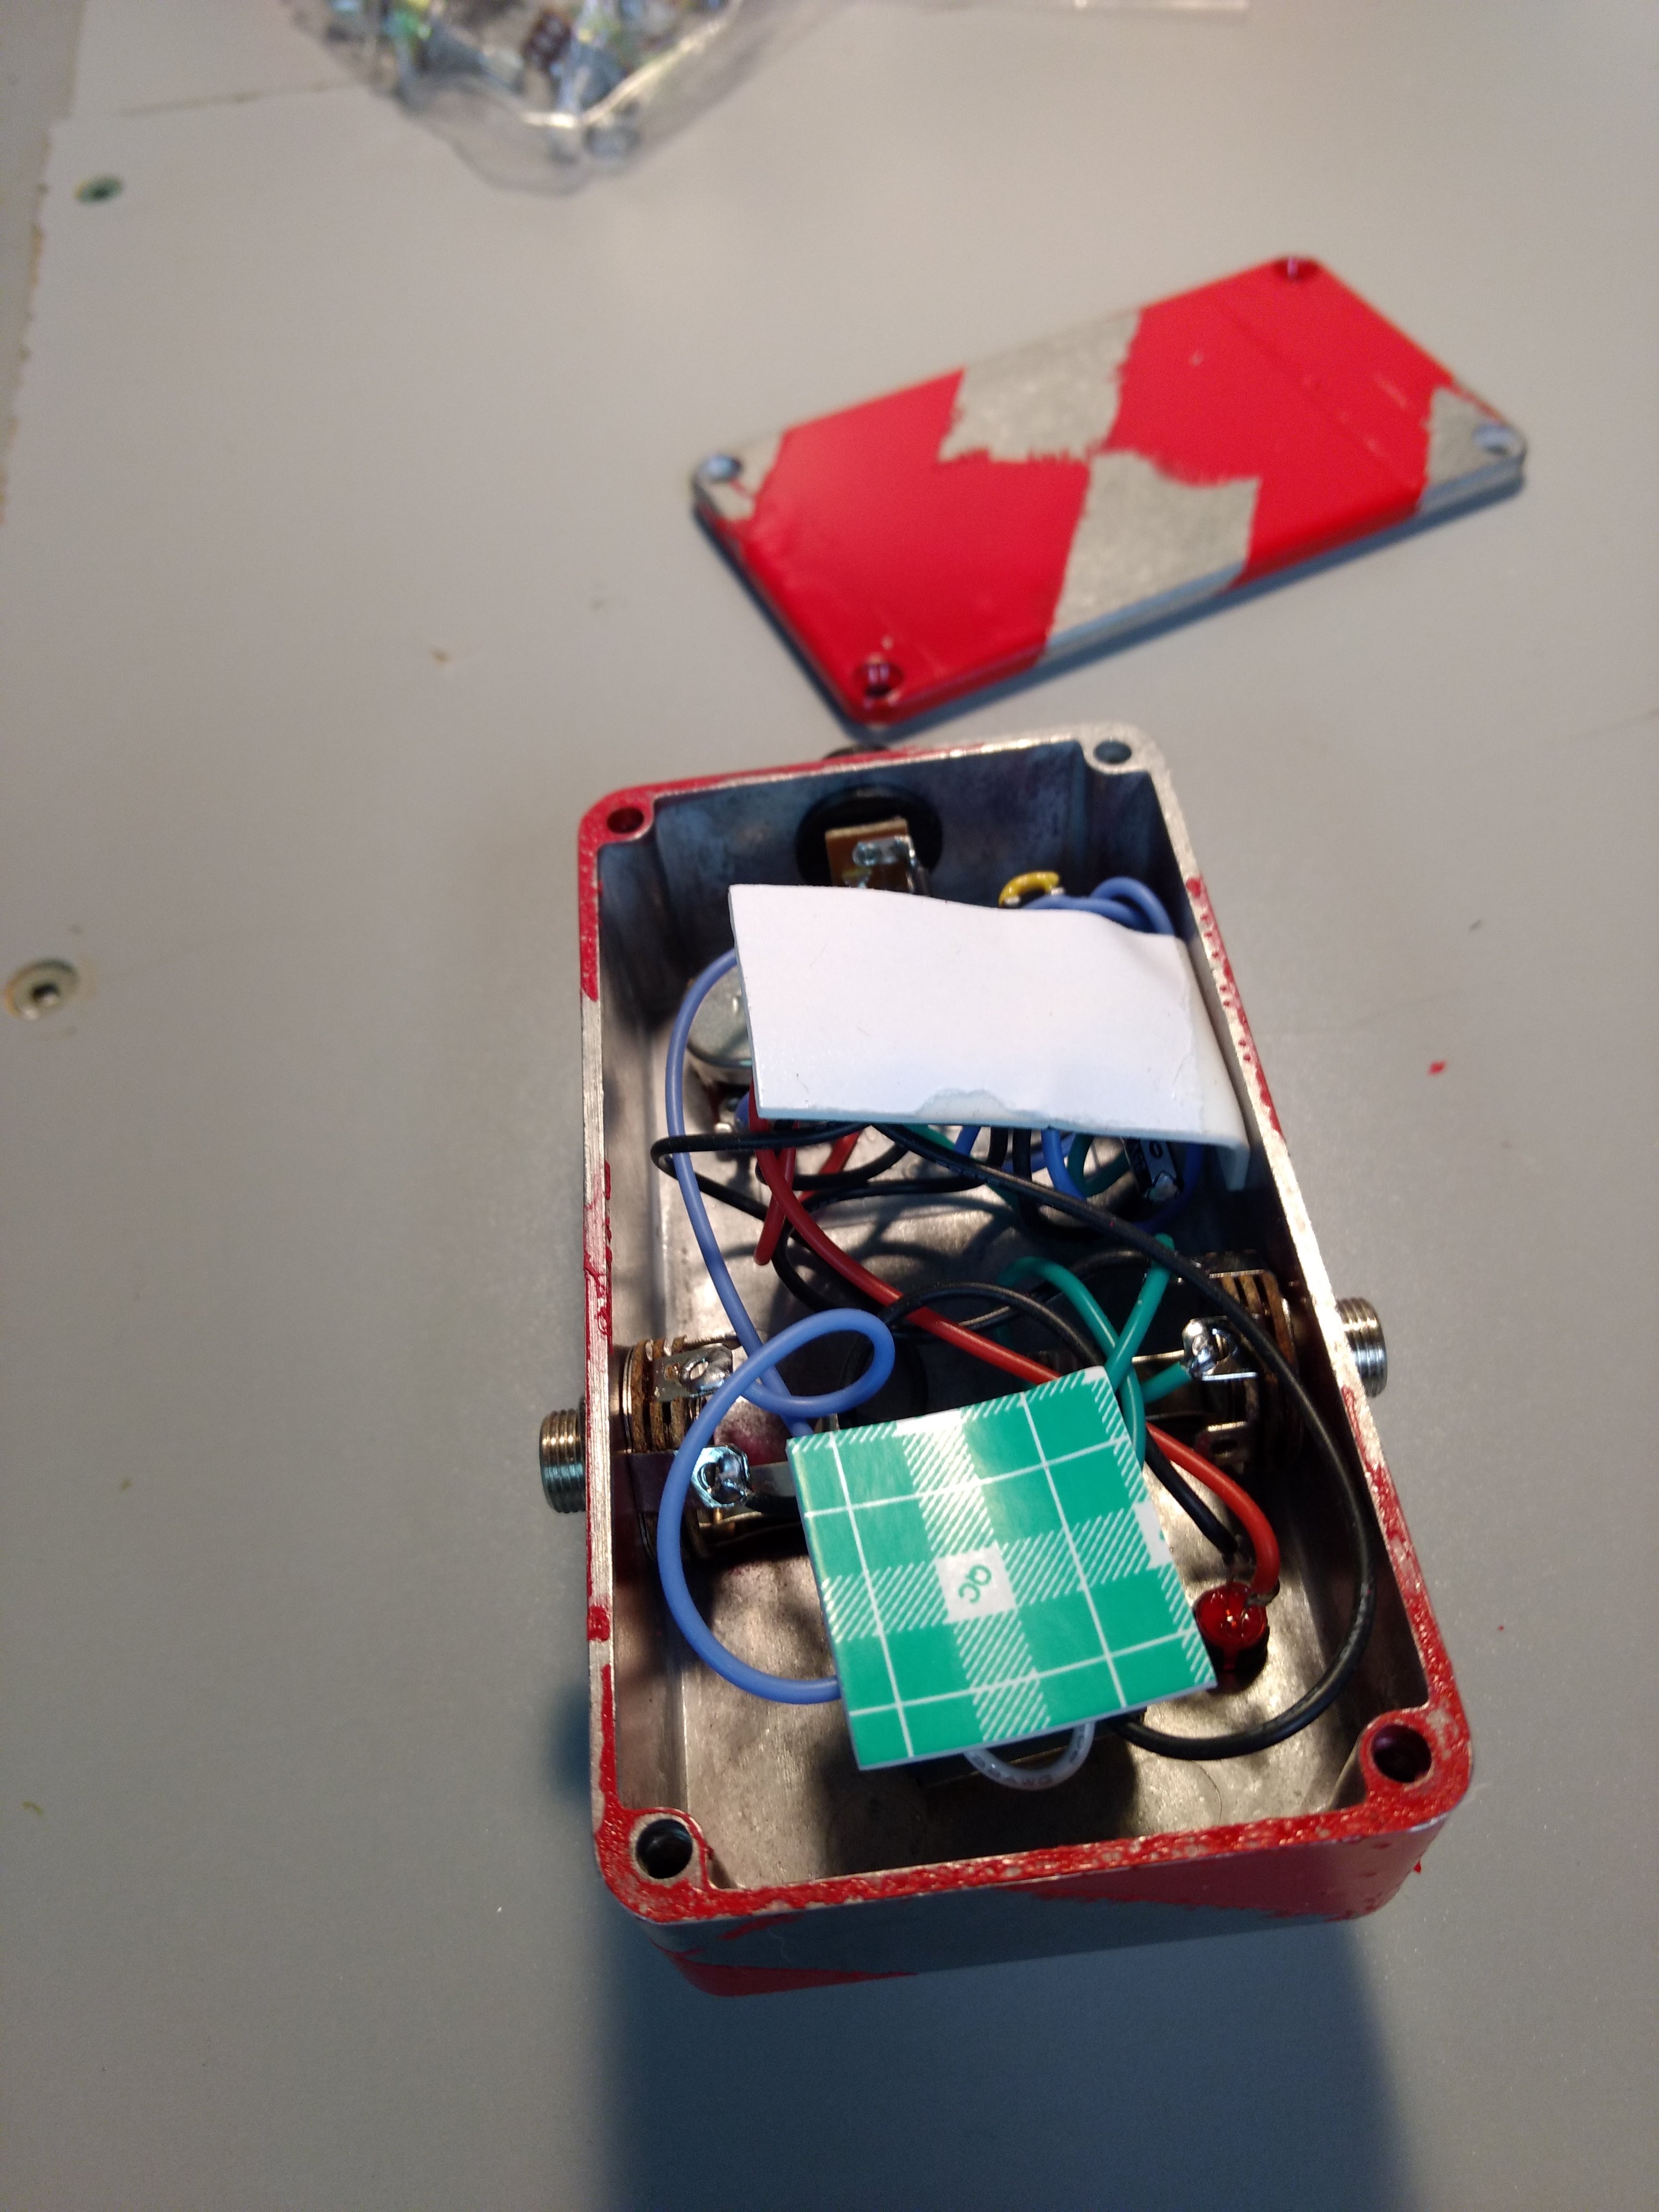
Box it up, then put some stickers (cut and printed by myself too).
 |
 |
 |
 |
 |
|
Et voilà!